A friendly, practical breakdown of the three lighting layers and how to combine ceiling fixtures, lamps, and accent lights for a finished, cozy living room, ...
home decor / design / interior decoration
Ceiling Light Size Guide

Maya Thorne
Maya Thorne is an interior stylist and the creative voice behind Homoraa. With over a decade of experience blending vintage finds with modern aesthetics, she helps readers transform ordinary spaces into personalized sanctuaries. When she is not rearranging her living room, she can usually be found hunting for unique ceramics and textiles at local flea markets.
Created: September 30, 2026
Updated: September 30, 2026
Ceiling lights are a little like rugs: when they are too small, the whole room feels oddly unfinished, even if everything else is lovely. The good news is you do not need an interior design degree to get the scale right. With two quick measurements (the room footprint and ceiling height) and a couple of easy rules, you can choose a flush mount, semi-flush, or pendant that looks intentional and fits your space.
The two numbers that matter most
Before you fall in love with a fixture, grab a tape measure. You only need:
- Room width and length (in ft.)
- Ceiling height (in ft.)
If the room is open-plan, measure the zone you want the light to serve (like the living area portion), not the entire footprint of the space.
The simplest sizing rule
This is my go-to guideline when clients want a quick “tell me what to buy” answer. It is a starting point, not a universal law. Furniture layout, ceiling slope, the fixture’s shape, and how much light output you need can nudge you bigger or smaller.
Fixture diameter = room length + room width
Add the room length and width in feet, then treat that number as inches for the fixture diameter.
- 10 ft. x 12 ft. bedroom → 10 + 12 = 22 → aim for about a 22 in. diameter ceiling light
- 14 ft. x 16 ft. living room → 14 + 16 = 30 → aim for about a 30 in. diameter fixture
My stylist tip: This number is a target, not a handcuff. Being within about 2 to 4 inches usually looks great, especially once furniture, beams, or ceiling medallions enter the chat.
How ceiling height changes things
Diameter is only half the story. A fixture can be the perfect width and still feel wrong if it hangs too low or has the wrong profile for your ceiling height.
Flush mount vs semi-flush vs pendant
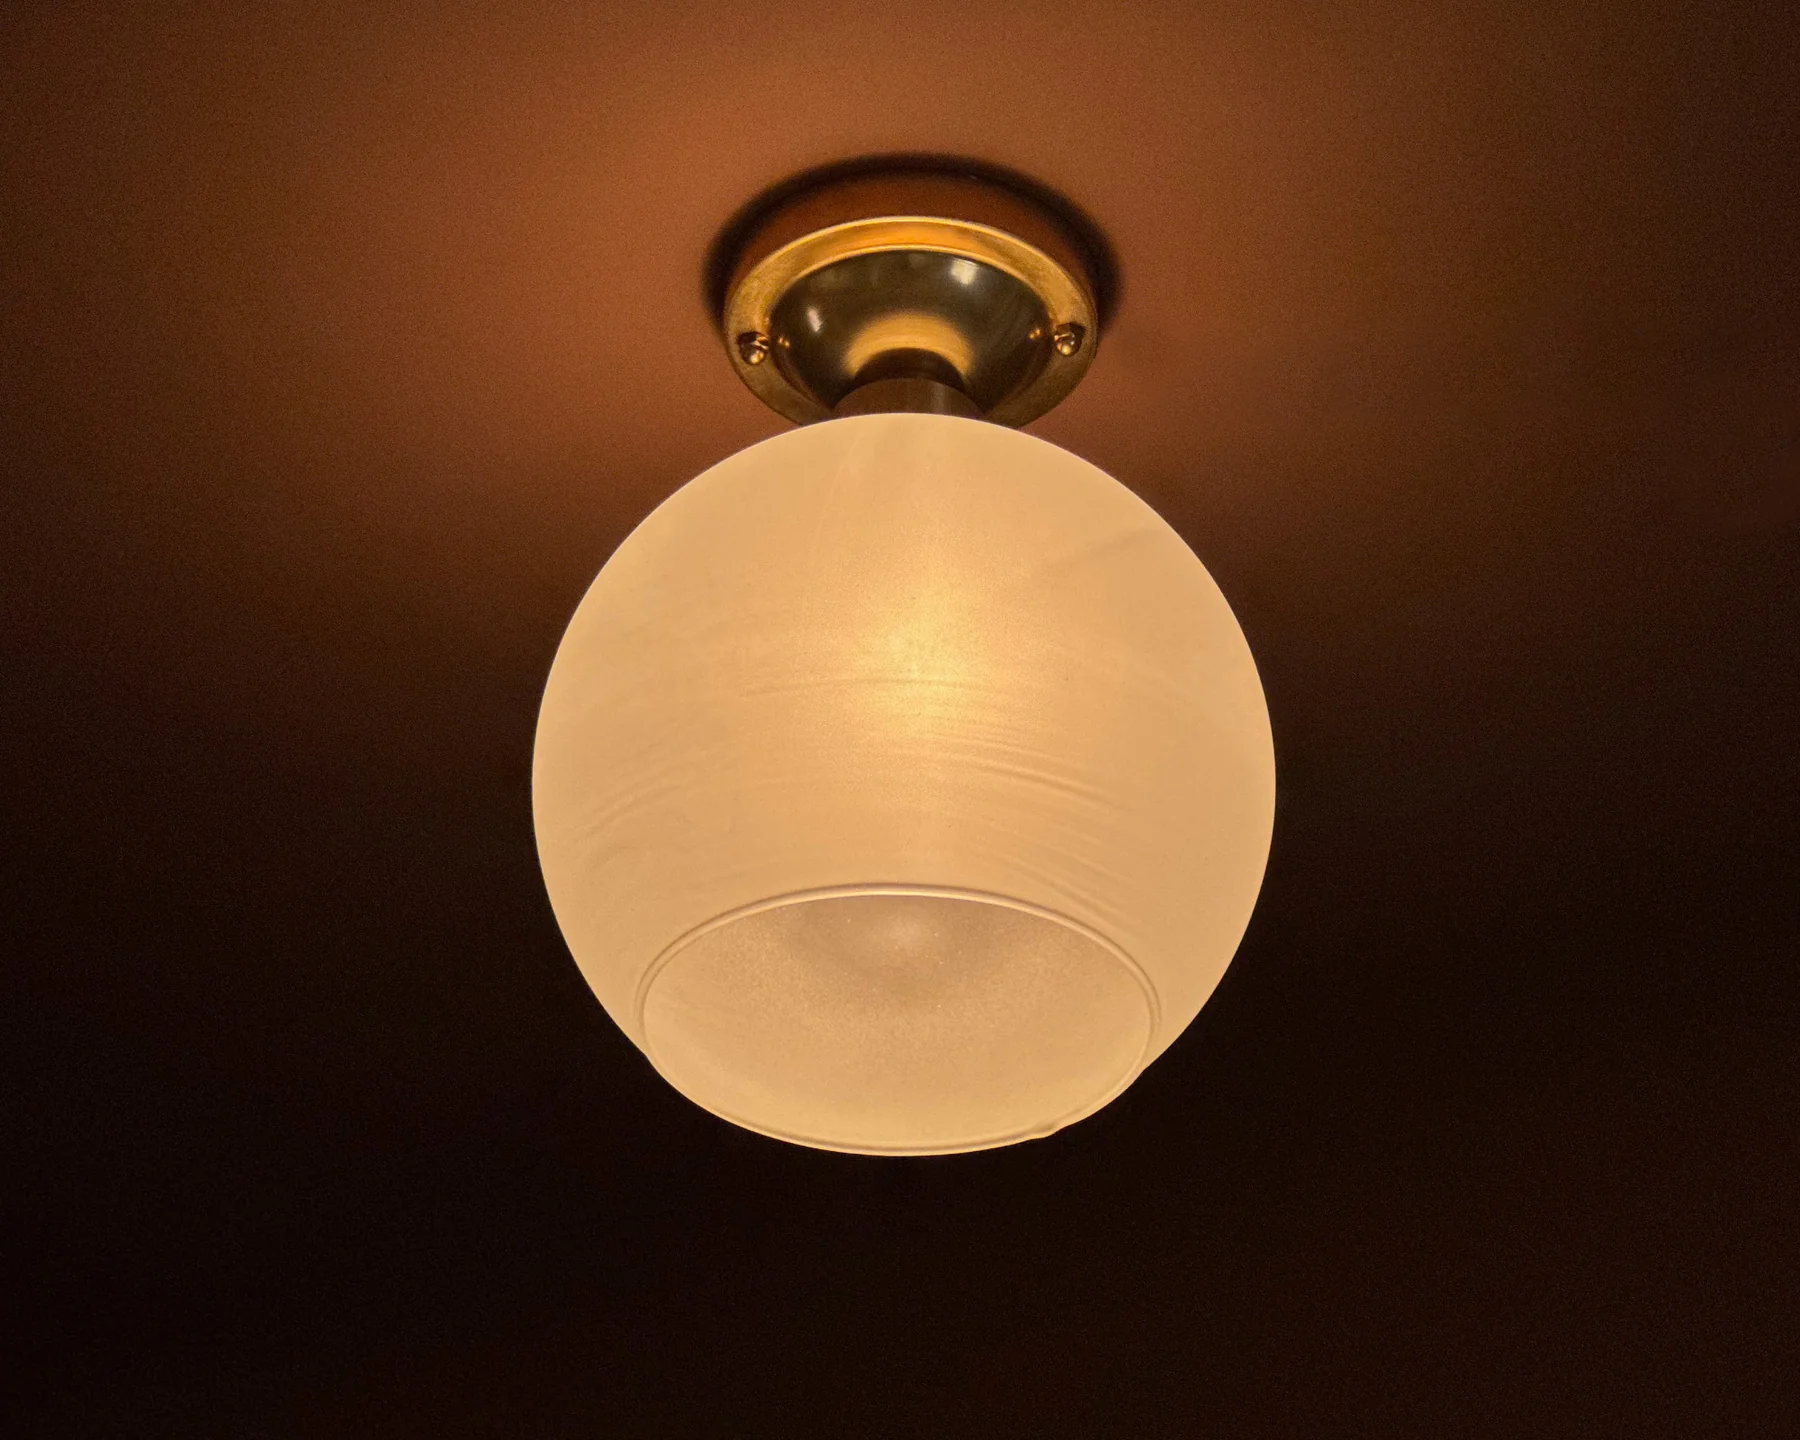
- Flush mount: Sits close to the ceiling. Best for low ceilings, hallways, kids’ rooms, and anywhere you want zero visual bulk.
- Semi-flush: Drops a few inches. Great “Goldilocks” option for 8 to 9 ft. ceilings when you want a little presence without sacrificing headroom.
- Pendant: Hangs down on a rod or chain. Best when you have height to spare or when the light is intentionally centered over something (a dining table, kitchen island, or entry area).
Quick height guidelines
- 8 ft. ceilings: flush or low-profile semi-flush (often a drop of about 4 to 8 in. looks clean)
- 9 ft. ceilings: semi-flush or a modest pendant (kept higher)
- 10 ft. or higher: pendants and chandeliers can shine, especially in dining rooms and entryways
Note on sloped and vaulted ceilings
With slopes and vaults, you are balancing both clearance and visual center. You may need a sloped-ceiling canopy adapter, and it often looks best to size up slightly so the fixture does not feel lost in the vertical space.
Pendants and chandeliers
Hanging height is where most people get nervous, so here are the most practical clearances to remember. Treat these as best-practice starting points, then fine-tune based on the fixture’s size and how you use the room.
In open areas (walking under it)
- Keep the bottom of the fixture at least 7 ft. above the floor for comfortable clearance.
- If someone tall in your home regularly bumps their head on things, aim for 7 ft. 3 in. or higher.
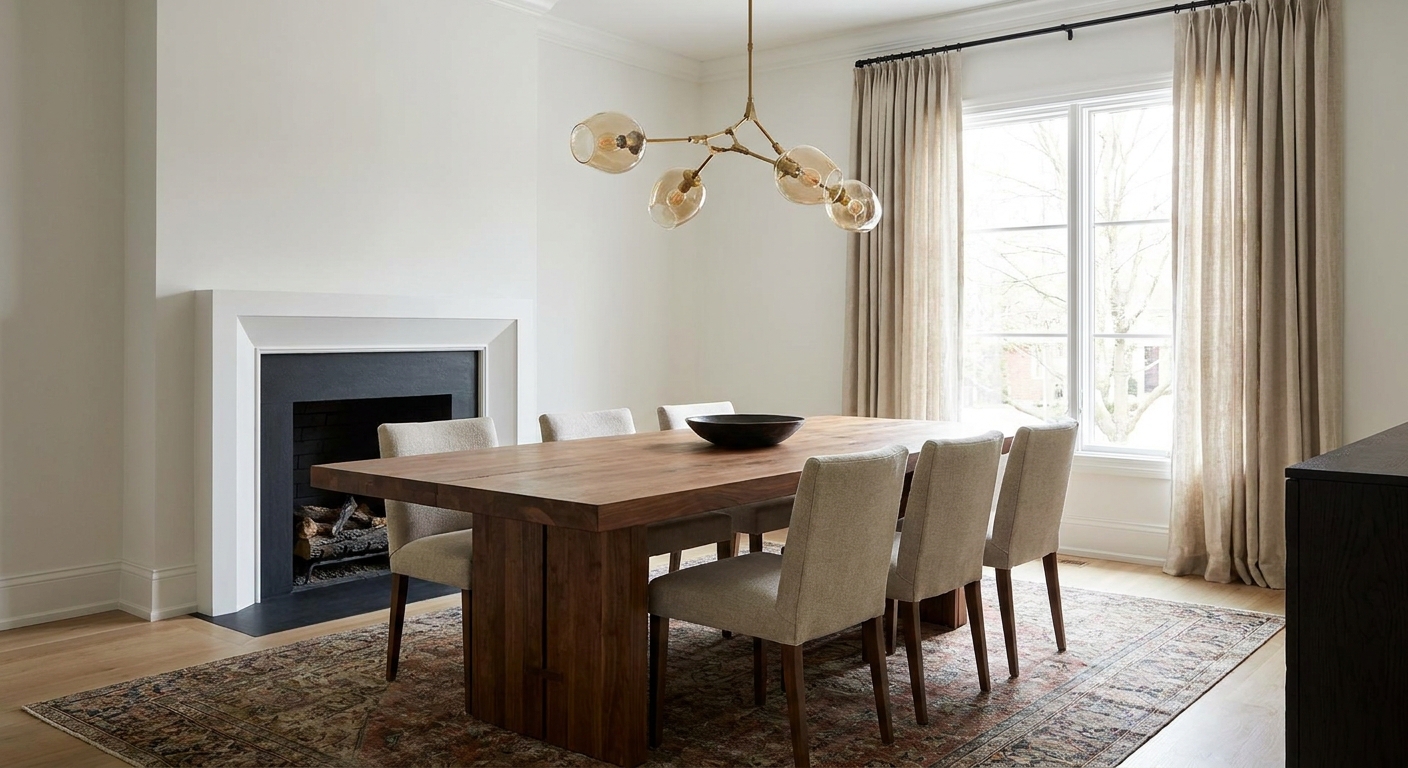
Over a dining table
- Hang the bottom of the fixture 30 to 36 in. above the tabletop for standard 8 to 9 ft. ceilings (assuming a typical 29 to 30 in. table height).
- For 10 ft. ceilings, you can go a touch higher, often 36 to 40 in., depending on the fixture’s visual weight.
Over a kitchen island
- Use the same idea as dining: typically 30 to 36 in. above the counter (assuming a standard 36 in. counter height).
- If you use multiple pendants, start by keeping each pendant about 6 to 12 in. in from the island edges and roughly 24 to 30 in. apart, then adjust based on pendant width and sightlines.
Room-by-room examples
Here are quick, real-world scenarios I see all the time, plus what usually works.
Bedroom
Example: 11 ft. x 13 ft. room, 8 ft. ceiling
- Diameter target: 11 + 13 = 24 in.
- Best fixture type: semi-flush if you want a bit of style, or a flush mount if the ceiling feels low
- Styling note: If your bed is visually heavy (tall headboard, canopy frame), nudge the fixture a couple inches larger so the ceiling does not feel sparse.
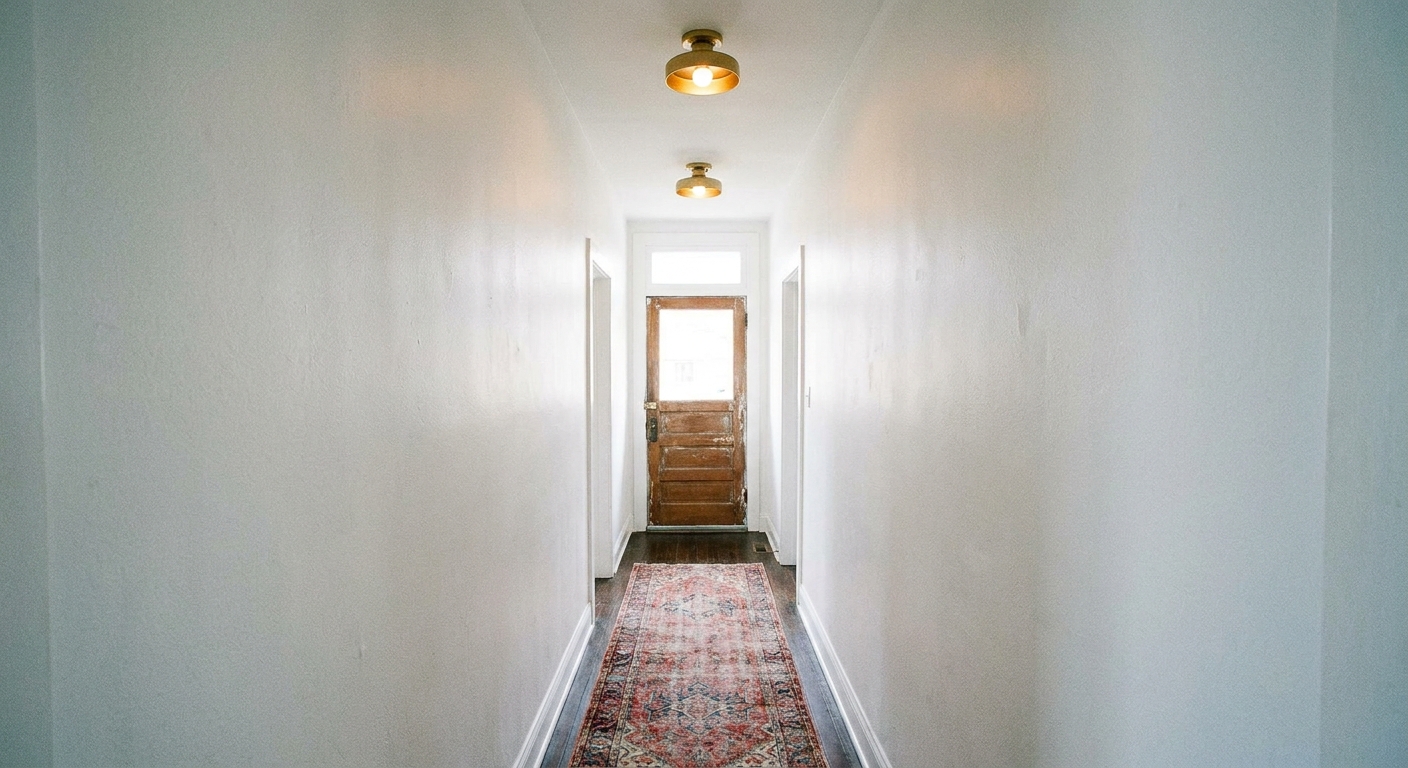
Hallway
Hallways are all about clearance and rhythm.
Example: 3 ft. x 12 ft. hallway, 8 ft. ceiling
- Diameter target: 3 + 12 = 15 in. (often 12 to 15 in. looks best)
- Best fixture type: flush mount or very tight semi-flush
- Spacing guideline: In longer hallways, a common starting point is a fixture every 8 to 10 ft., then adjust for door placement, shadows, and how bright your fixtures are.
Dining room
In dining rooms, the table is the anchor. Let the table size guide you as much as the room size.
Example: 12 ft. x 14 ft. room, 8.5 ft. ceiling, 72 in. long rectangular table (about 36 to 40 in. wide)
- Room-based diameter target: 12 + 14 = 26 in.
- Table-based reality check: Choose a fixture that is about 1/2 to 2/3 the table width (for a 36 to 40 in. wide table, that is often roughly 18 to 26 in. depending on shape)
- Hanging height: 30 to 36 in. above the tabletop
Shape tip: Round fixtures flatter round tables. Linear fixtures flatter rectangular tables. If you mix shapes, keep the scale generous so it feels deliberate, not accidental.
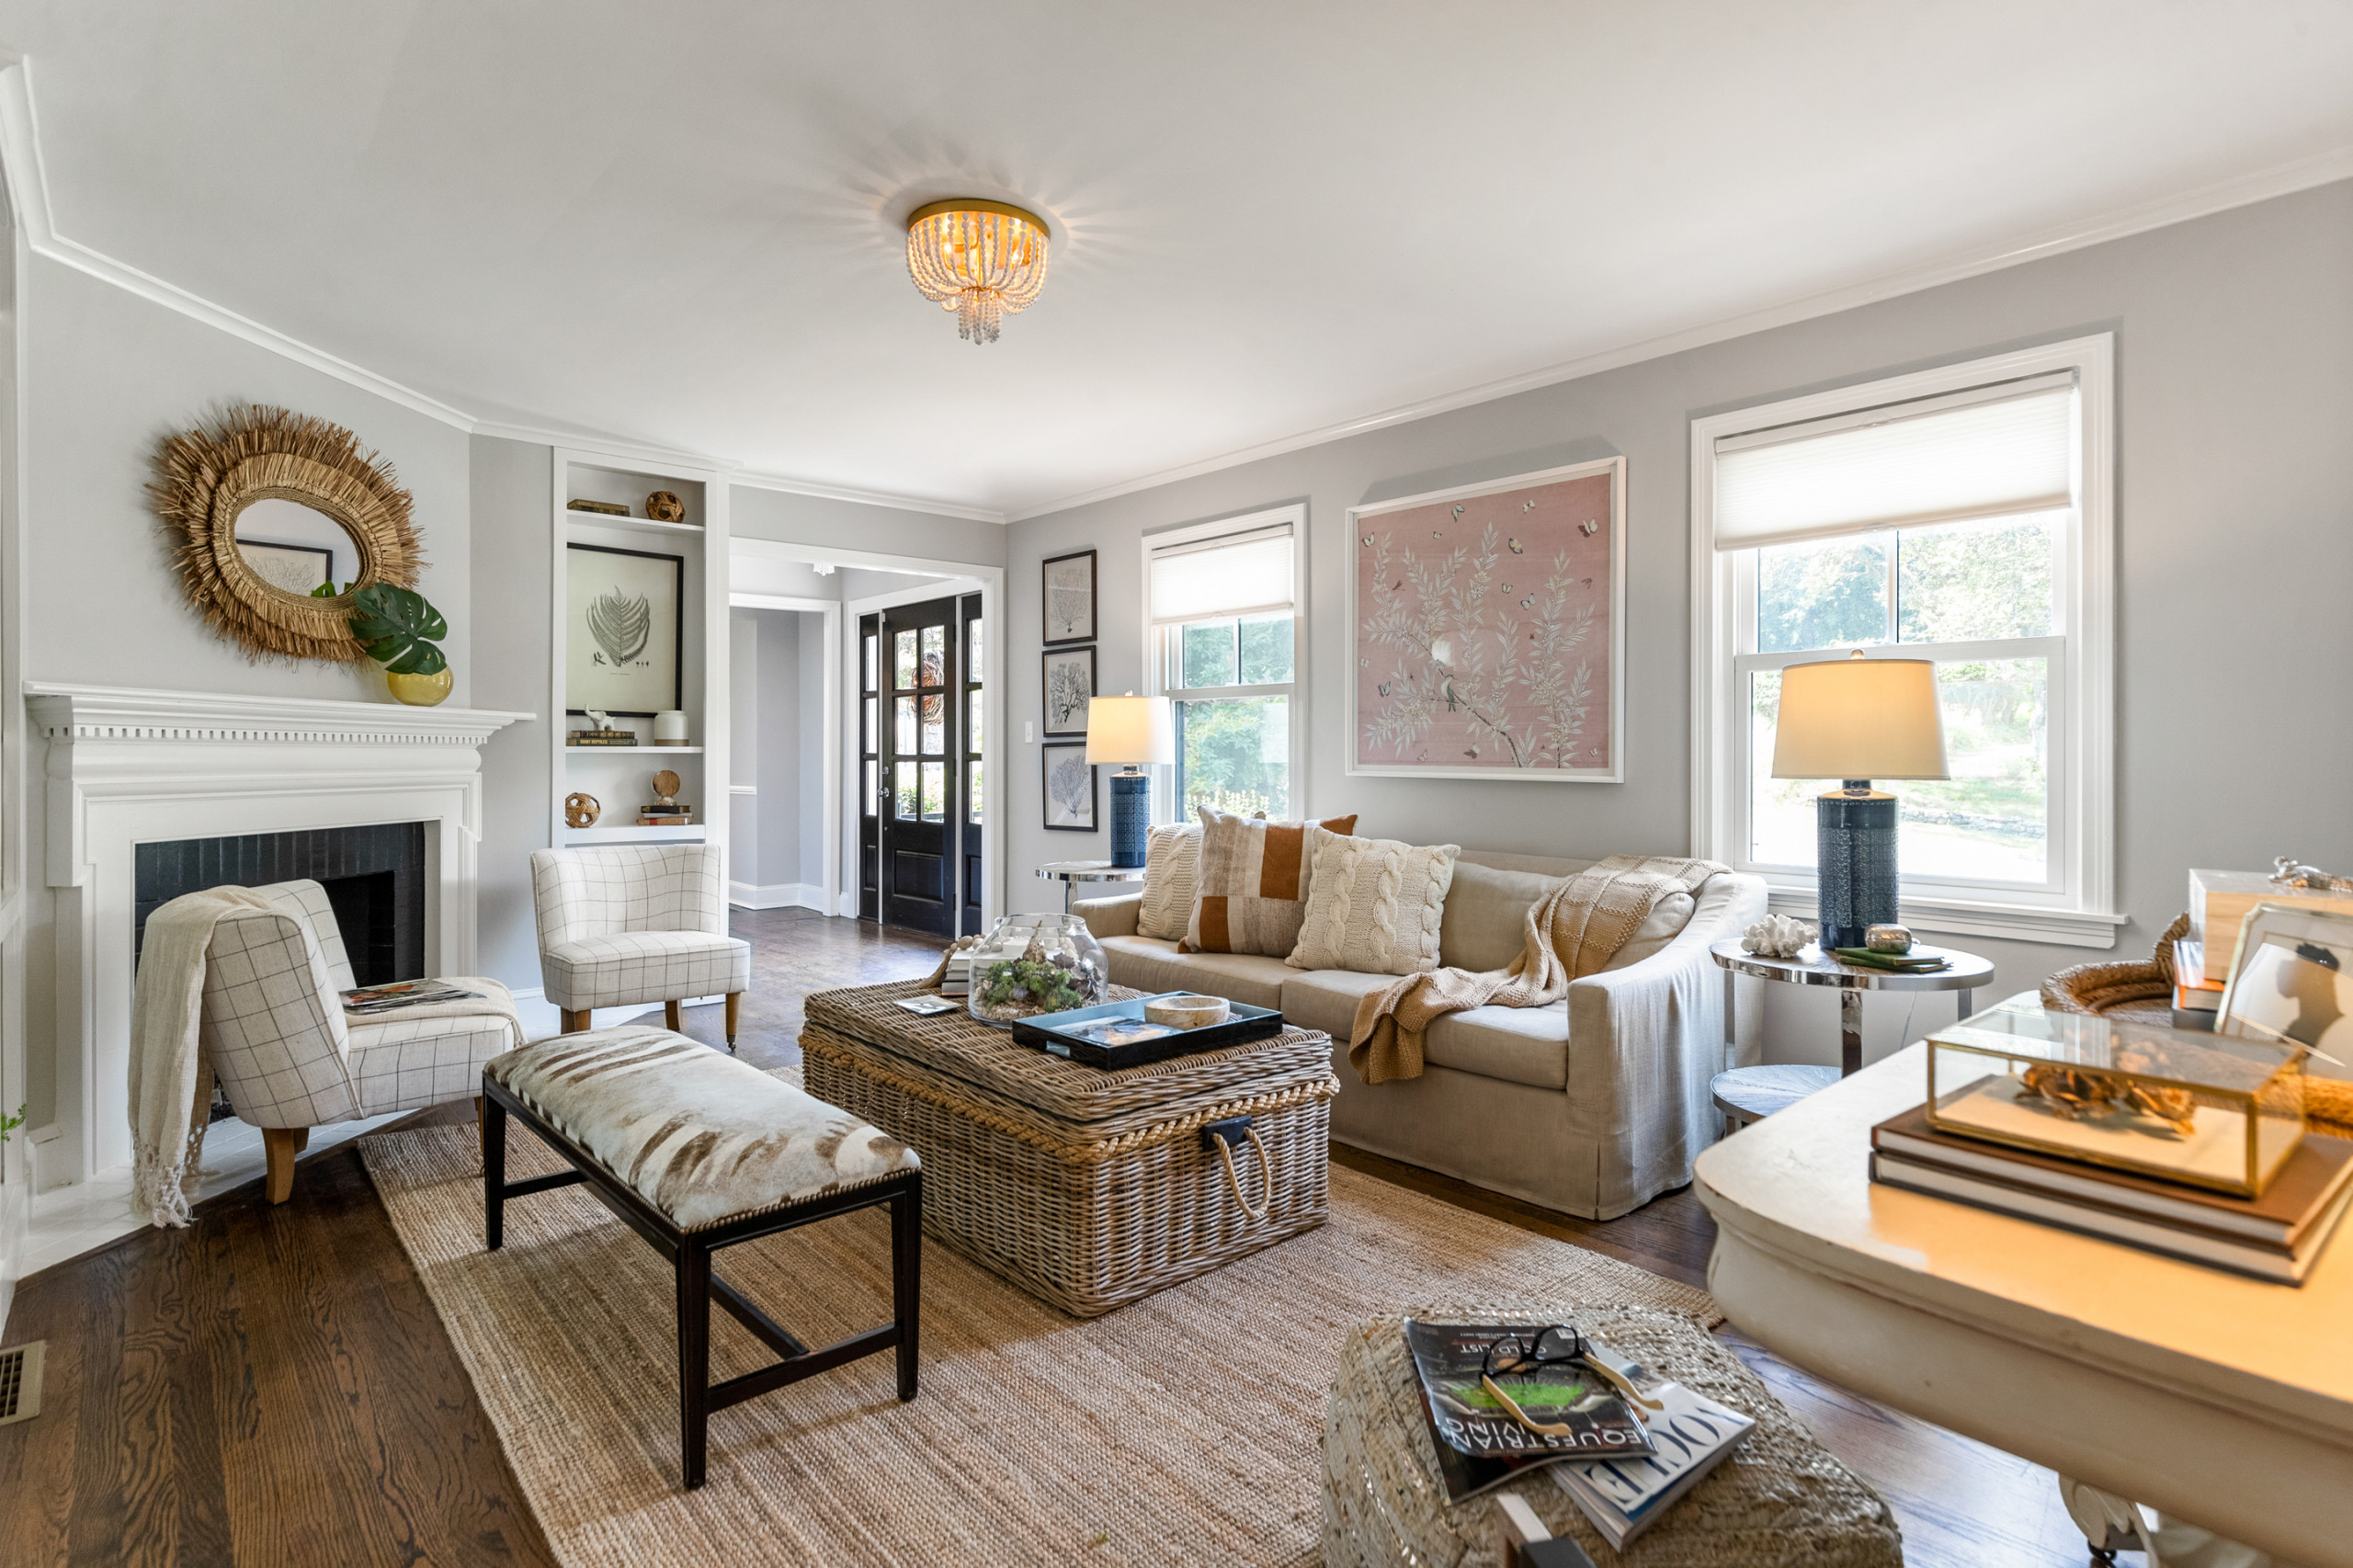
Living room
Living rooms can handle a little drama, but they also have lots of competing elements (art, curtains, tall bookshelves). Scale keeps it calm.
Example: 15 ft. x 18 ft. living room, 9 ft. ceiling
- Diameter target: 15 + 18 = 33 in.
- Best fixture type: semi-flush for a tailored look, or a higher-hanging pendant if you want a focal point
- Layout tip: In a seating-area layout, center the fixture over the main conversation zone (often where the coffee table sits), not necessarily the exact center of the entire room.
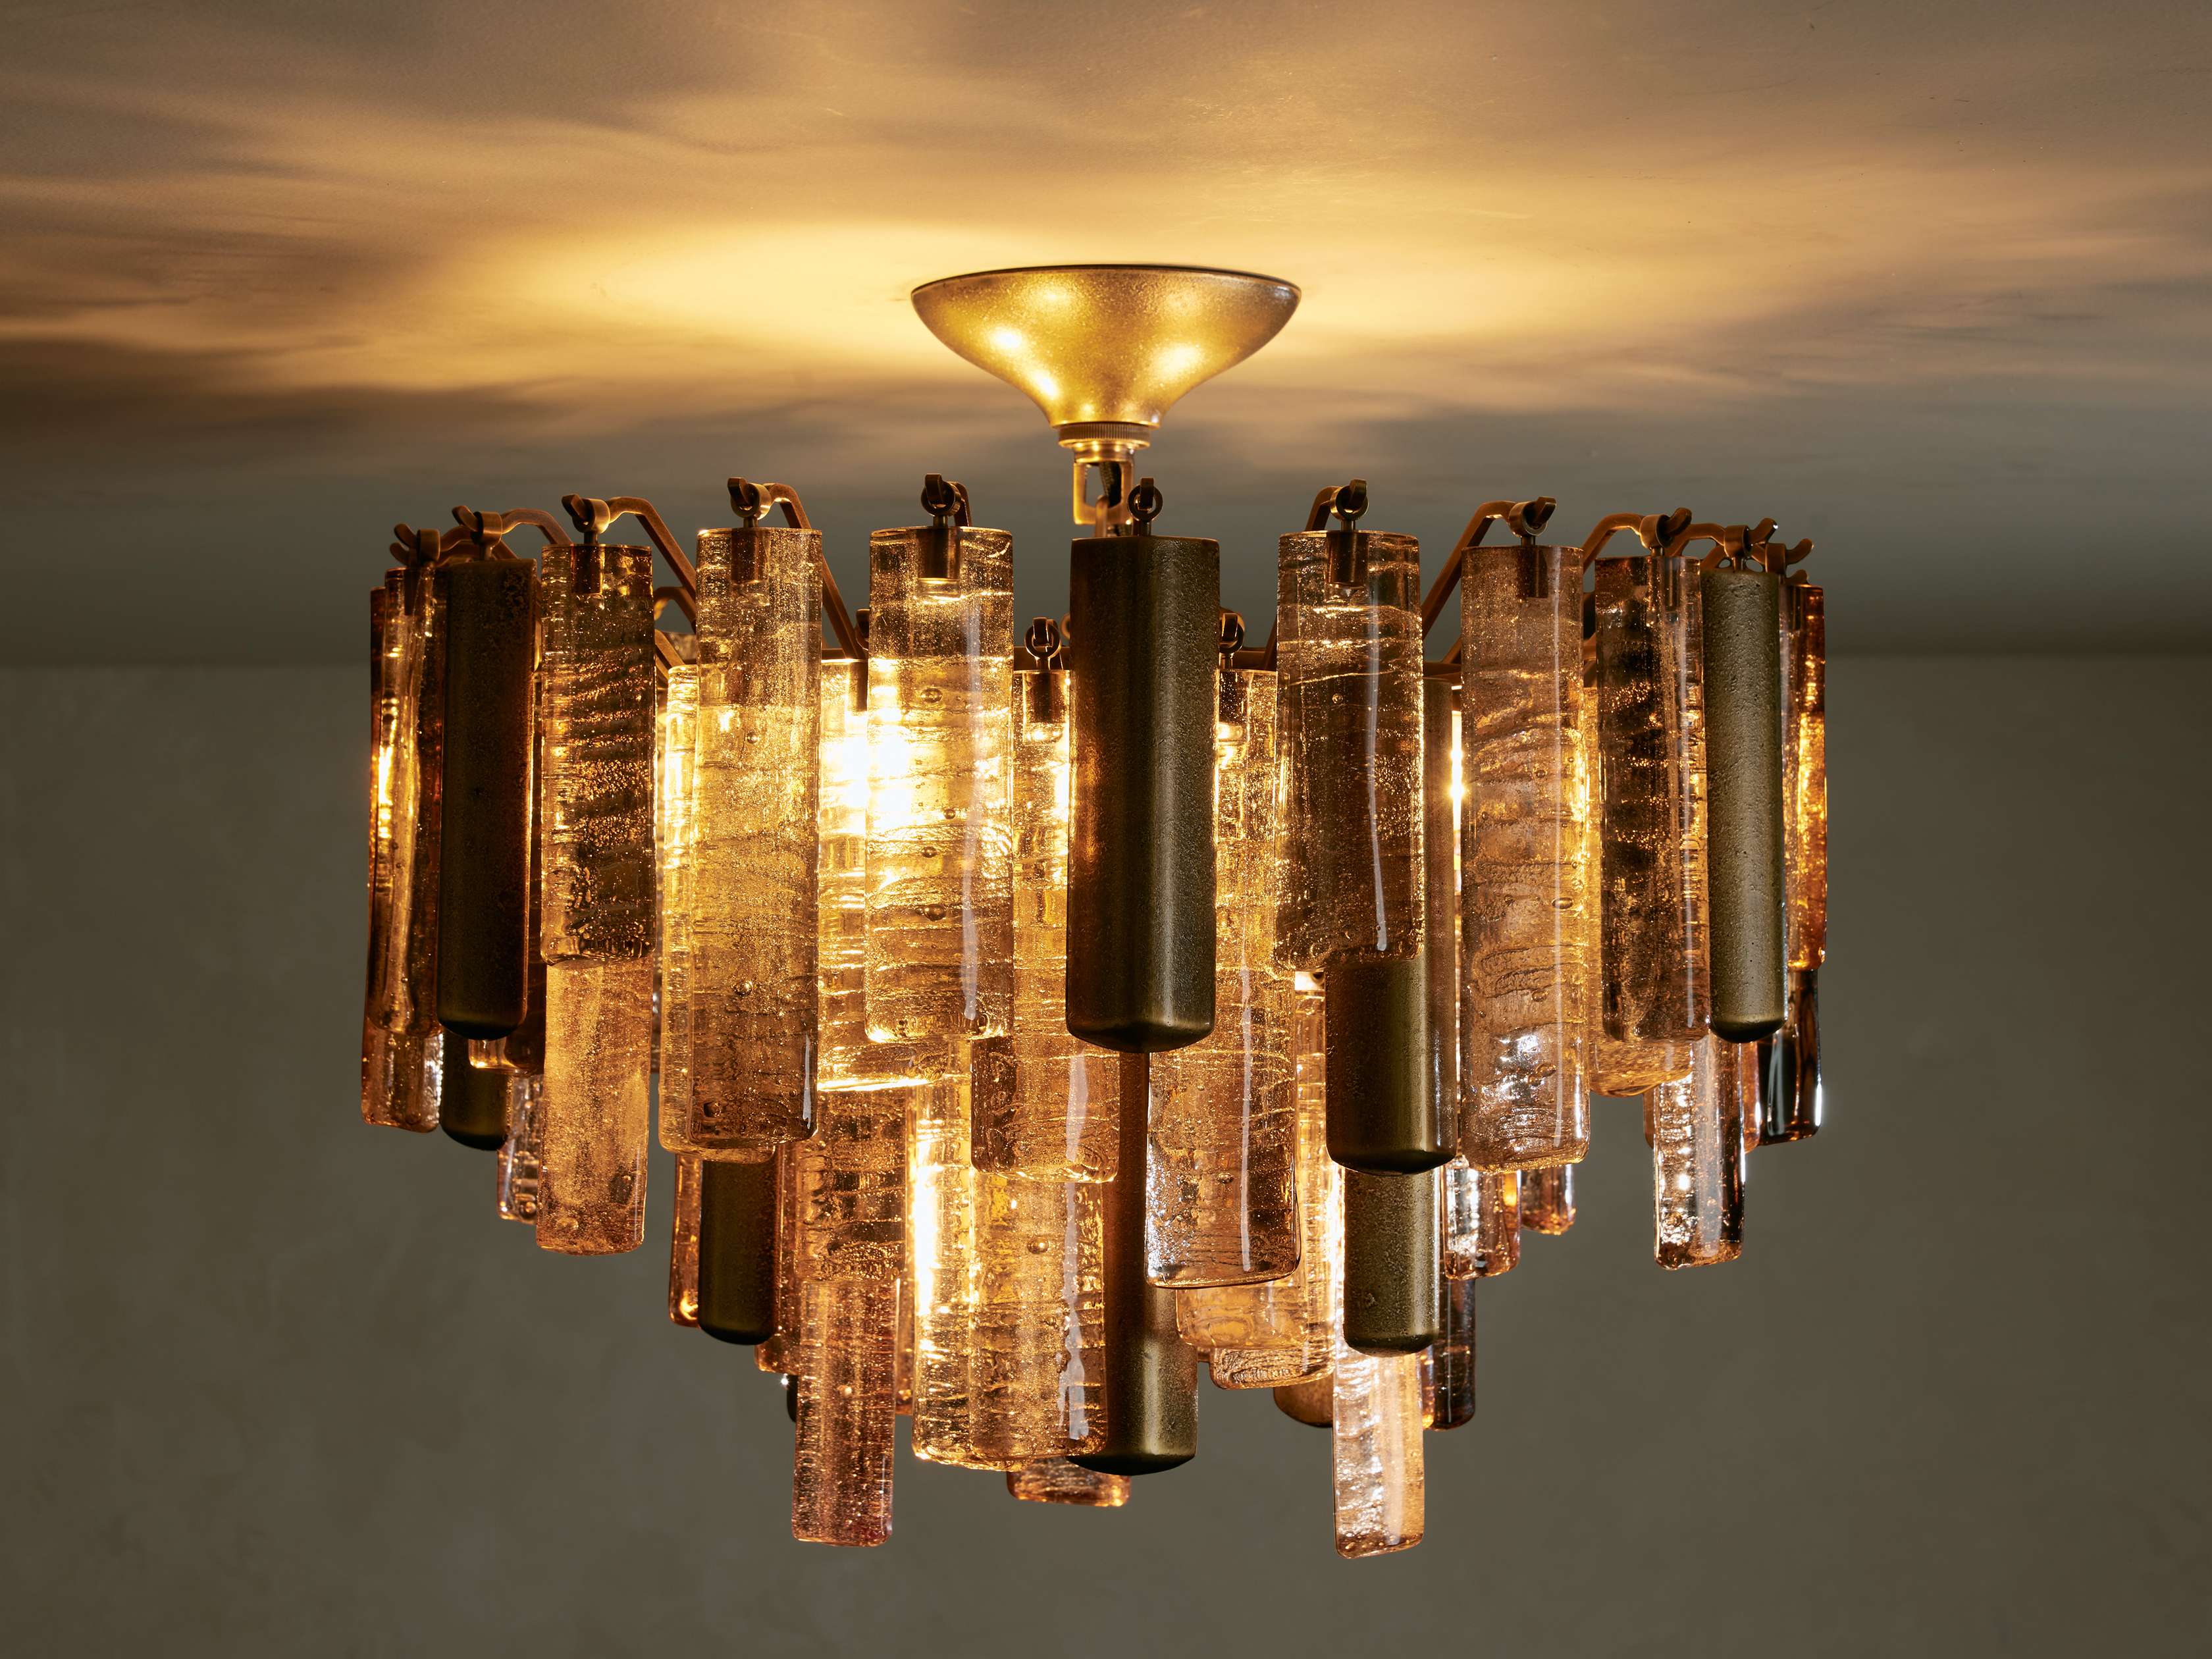
Flush and semi-flush tips
When you are not dealing with a table or island below, a ceiling light’s job is to feel proportional from every angle.
- Low ceilings: prioritize a low profile over maximum diameter. A slightly smaller fixture that hugs the ceiling often looks better than a large one that feels looming.
- Higher ceilings: you can go wider and allow more depth. This is where semi-flush fixtures with layered glass or a small drop look expensive in the best way.
- Small rooms: if your diameter math says 18 in. but you have a bulky ceiling fan nearby or tall cabinets, do not be afraid to choose 15 to 17 in. for breathing room.
Common sizing mistakes
- Mistake: Choosing a fixture based only on how it looks online. Fix: Tape out the diameter on the ceiling with painter’s tape. It takes two minutes and prevents regret.
- Mistake: Hanging a pendant too high over a dining table. Fix: Start at 32 in. above the tabletop, then adjust up or down a couple inches after you sit and look at it.
- Mistake: Using a tiny “builder basic” light in a large room. Fix: Go wider, or use a fixture with more visual volume (like layered shades) so it reads at the right scale.
- Mistake: Forgetting about door swing and tall people in hallways. Fix: In circulation paths, pick flush mounts or keep the bottom of a pendant around 7 ft. off the floor for comfortable clearance.
- Mistake: Nailing the size, but the room still feels dim. Fix: Check lumens and plan for layers. A great ceiling light plus lamps usually beats one “perfect” fixture trying to do everything.
Quick checklist
- Measure room length and width (or the zone).
- Add them together for a starting diameter in inches.
- Confirm ceiling height and choose flush, semi-flush, or pendant accordingly.
- If hanging over a table or island, start at 30 to 36 in. above the surface (assuming typical table and counter heights).
- Tape the diameter on the ceiling to sanity-check the scale.
- Think about the rest of the room’s “visual weight” (tall headboards, big curtains, chunky furniture).
- Consider light output and layering so the room is as bright as you want it to be.
FAQ
What if my room is between sizes?
Go with the larger option if the room has high ceilings, tall furniture, or you want the light to be a focal point. Go smaller if ceilings are low or the space is visually busy.
Can I use the same sizing rule for a ceiling fan?
Ceiling fans have their own blade-span guidelines, but the “room length + room width” trick can still help you sense-check scale. For airflow and clearances, follow the fan manufacturer’s specs.
What if I want two fixtures instead of one?
Common in long rooms, kitchens, and large living areas. In that case, choose slightly smaller fixtures and focus on even spacing so the room feels balanced. If the goal is brightness, consider both fixture spacing and lumen output so you do not end up with shadowy patches.