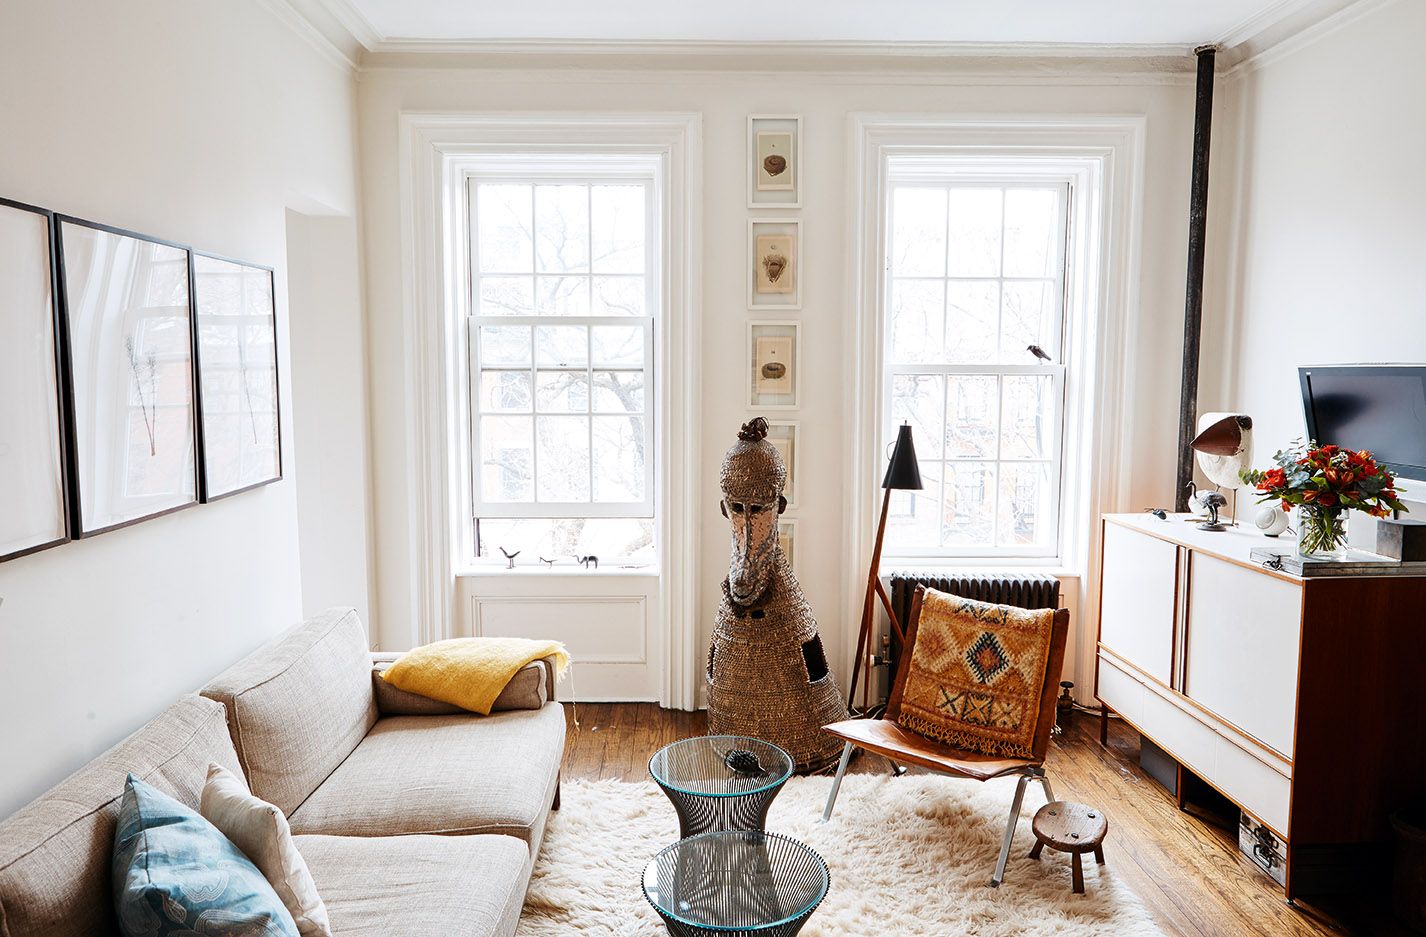
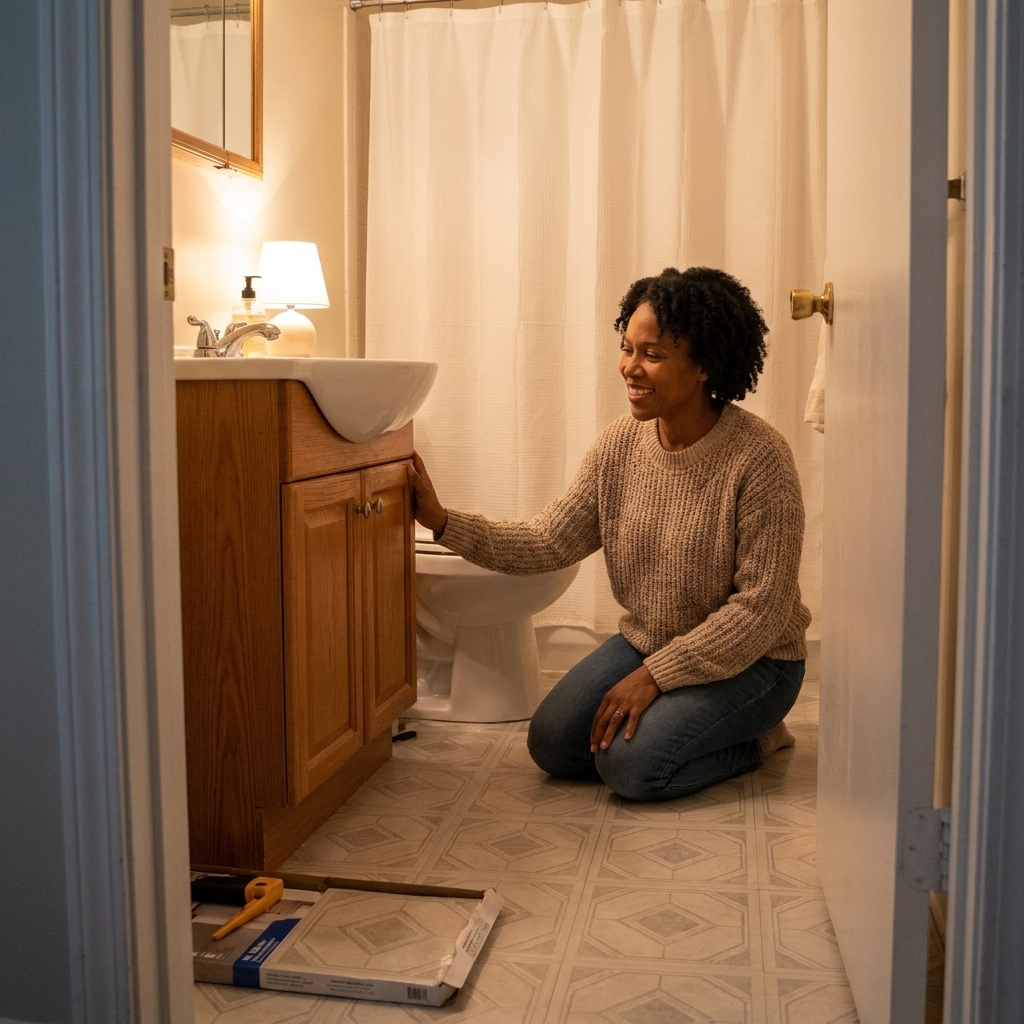
The $200 styling blueprint: lighting, textiles, thrifted art, and a few high-impact DIYs that make a living room feel polished and intentionally designed.
home decor / design / interior decoration
Layered Living Room Lighting

Maya Thorne
Maya Thorne is an interior stylist and the creative voice behind Homoraa. With over a decade of experience blending vintage finds with modern aesthetics, she helps readers transform ordinary spaces into personalized sanctuaries. When she is not rearranging her living room, she can usually be found hunting for unique ceramics and textiles at local flea markets.
Created: September 26, 2026
Updated: September 26, 2026
Lighting is one of the fastest ways to make a living room feel either pulled together or oddly unfinished, even if you have the perfect sofa and the rug of your dreams. The secret is not a bigger budget. It is layering: combining ambient, task, and accent light so the room works for real life and looks beautiful at every hour.
Think of it like getting dressed. Ambient is your base layer, task is your practical jacket, and accent is the jewelry. You need all three, and you can absolutely do it with a mix of thrifted lamps, simple bulbs, and one or two intentional upgrades.
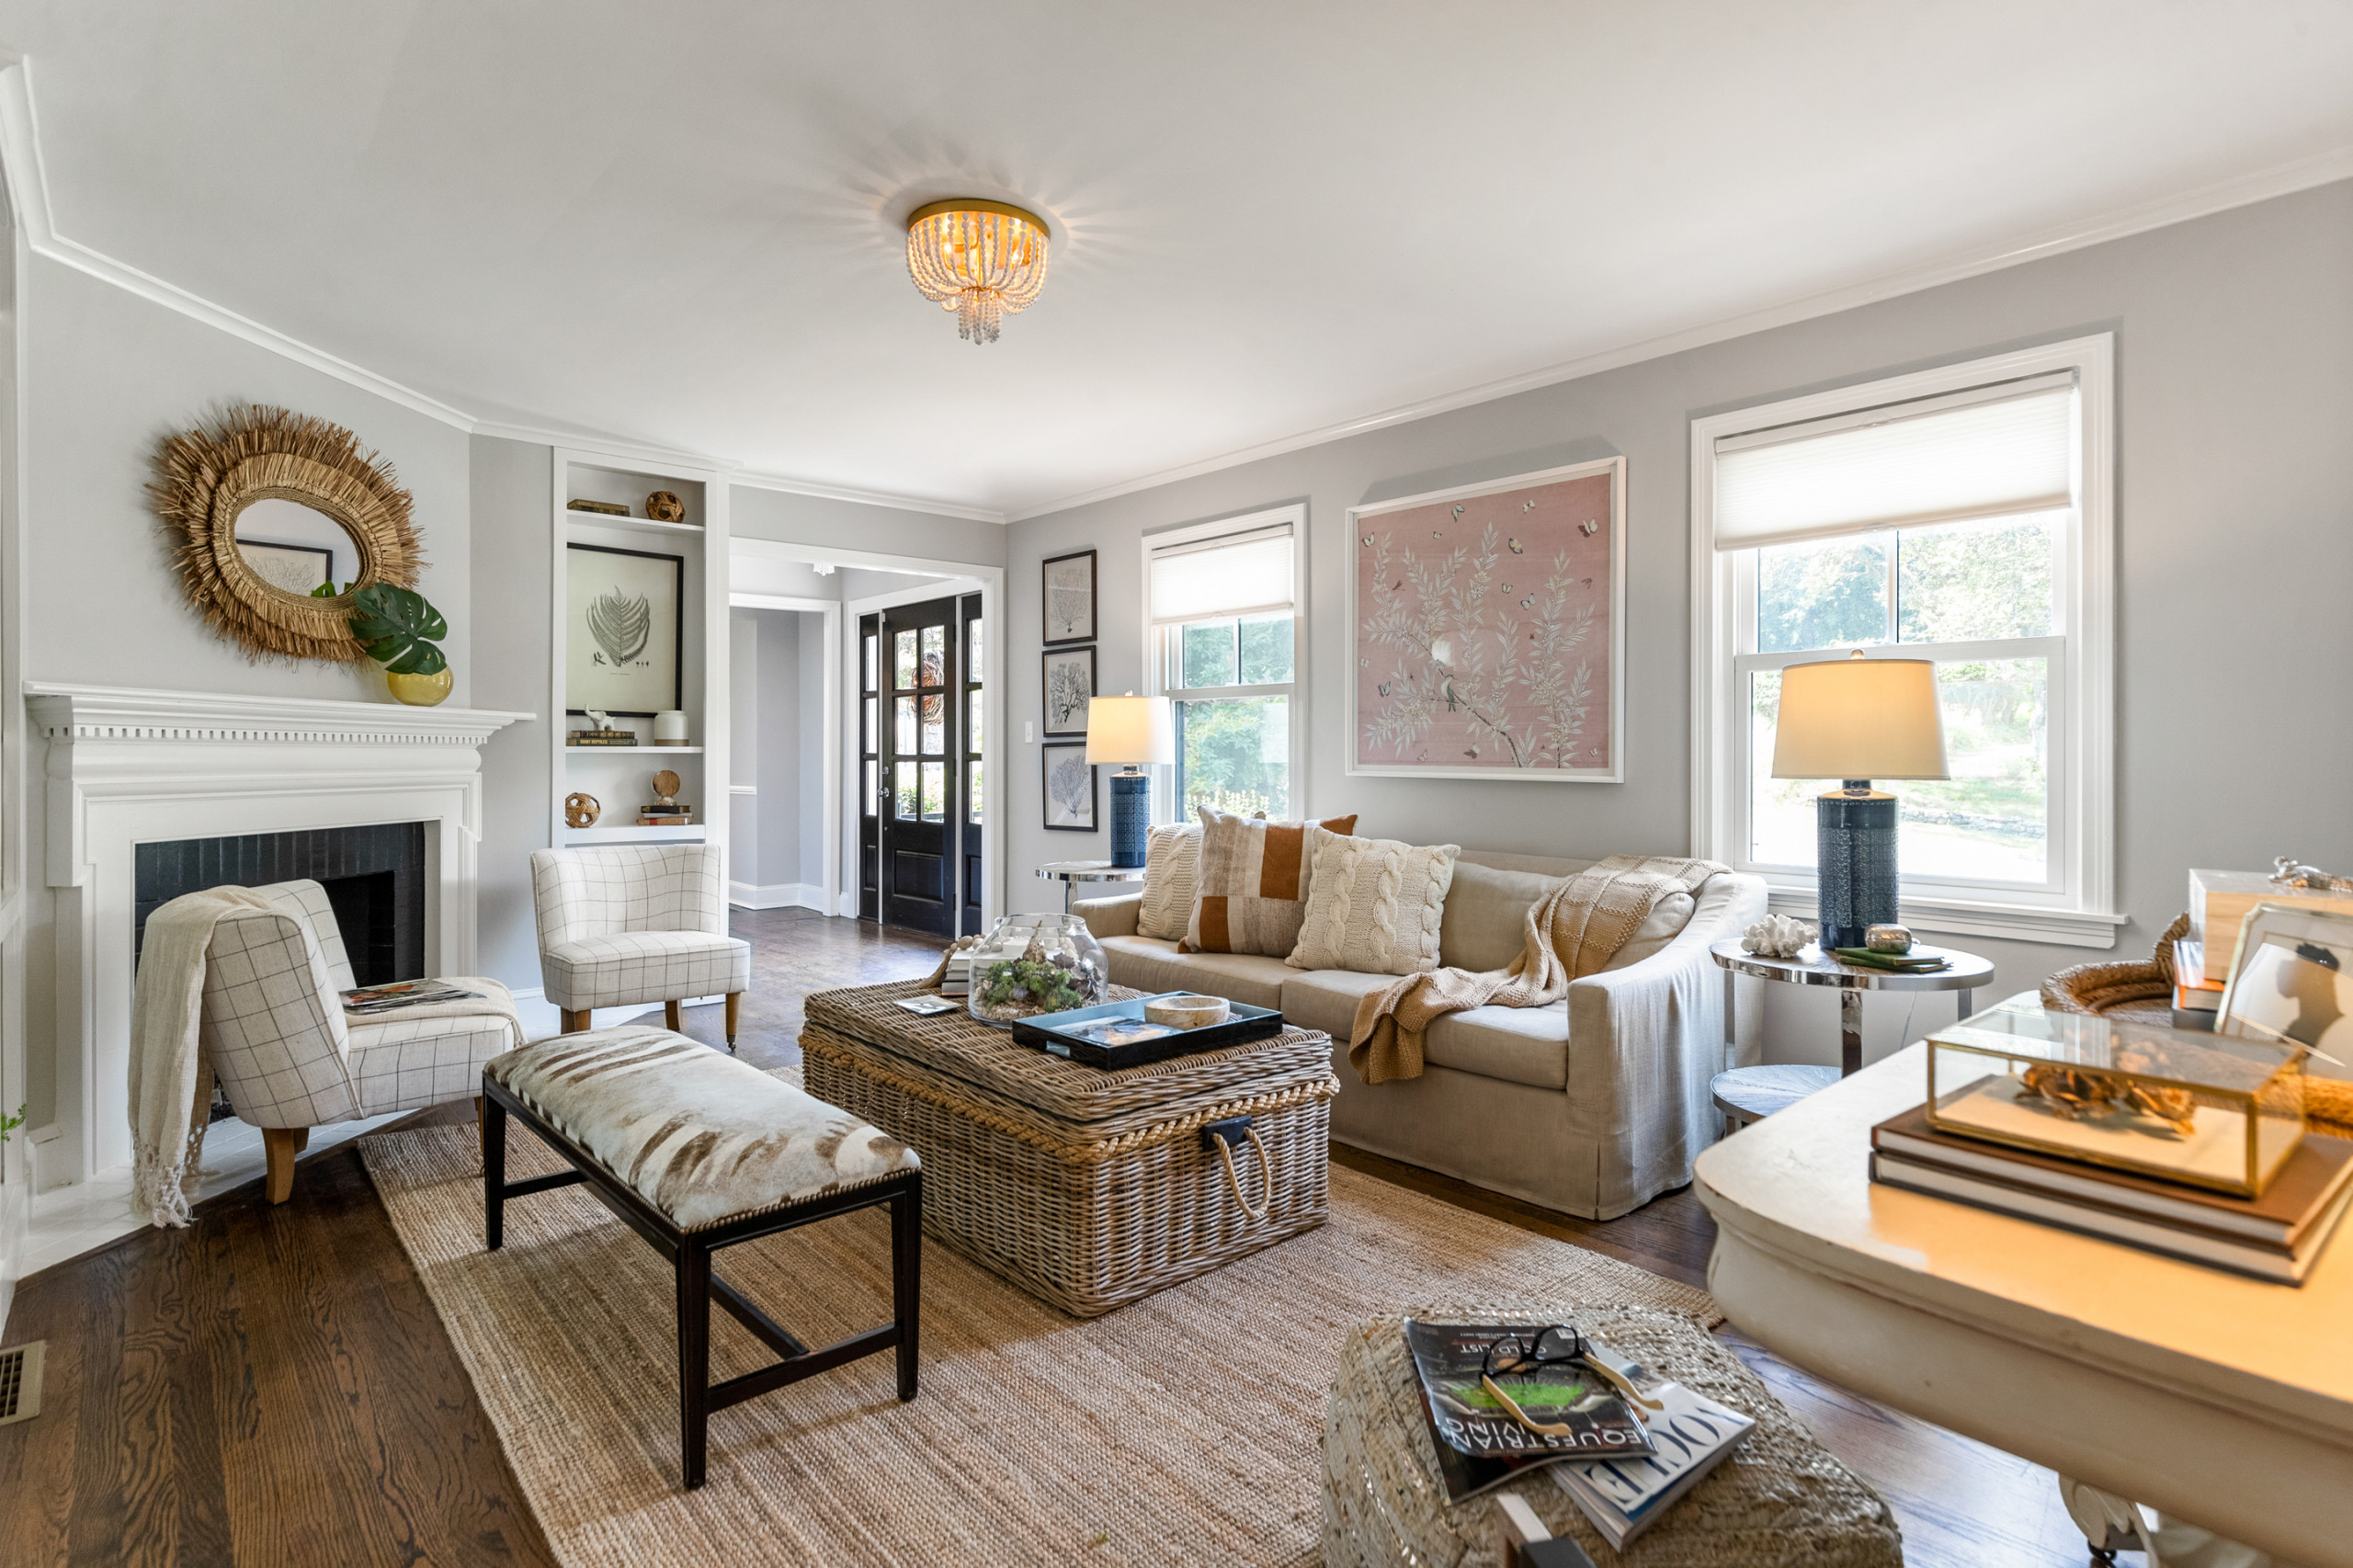
The three layers, explained simply
1) Ambient lighting (the room’s foundation)
Ambient light is the overall, general light that lets you move through the room comfortably. It sets the mood and prevents that harsh “spotlight in a cave” feeling.
- What it feels like: Even, soft, welcoming brightness.
- Where it usually comes from: Ceiling fixtures, recessed lights, a central pendant, or multiple lamps that collectively fill the room.
- Common mistake: Relying on one overhead fixture as the only light source. That often creates flat light and unflattering shadows.
2) Task lighting (light where you do things)
Task light is targeted light for activities like reading, working on a laptop, doing a puzzle, or even knitting that scarf you swear you will finish this winter.
- What it feels like: Focused and bright enough to reduce eye strain.
- Where it belongs: Beside seating, near a desk or console, over a game table, or any “activity zone.”
- Common mistake: A cute lamp that is too short or too dim to actually help you see.
3) Accent lighting (the room’s personality)
Accent light highlights what you love: art, shelves, plants, texture on a wall, a vintage cabinet, your record collection. It adds depth, contrast, and that finished designer look.
- What it feels like: Cozy, layered, intentional.
- Where it belongs: Aimed at a focal point, tucked behind a plant, washing a wall, or glowing softly on a shelf.
- Common mistake: Using accent lighting as a replacement for ambient. Accent is dessert, not dinner.
Where each layer goes in a typical living room
Ambient: build a soft “ceiling of light”
If you have a ceiling fixture, great. If you do not, you can still create ambient light using multiple lamps.
- Ceiling fixture on a dimmer: The gold standard. Dimmers are the single most impactful “small upgrade” I recommend.
- Two to three lamps spread around the room: A floor lamp plus two table lamps can mimic ambient light surprisingly well.
- Wall sconces: Plug-in sconces are renter-friendly and add a polished look without hardwiring.
Task: put it at seated level
For reading on a sofa, you want the light source to come from slightly behind your shoulder or to the side, not straight down from the ceiling. As a quick target, aim for the bottom of the shade around seated eye level, with the light directed toward the page or your lap.
- Floor lamp next to the sofa: Look for a shade bottom around seated eye level (or an adjustable arm).
- Table lamp on a side table: Ideal for conversation seating because it is flattering and functional.
- A discreet lamp near a desk: If your living room doubles as a home office, task lighting is non-negotiable.
Accent: use it to create depth at night
Accent lighting is how you avoid the “everything is equally lit” look. You want pockets of glow.
- Picture lights or art lights: Battery options have gotten so good for renters, but quality varies. Look for warm color temperature, decent CRI, and realistic runtime so it is not dying mid-week.
- Uplights behind plants: One small uplight can make a corner feel lush and intentional.
- LED strip on a shelf or behind a media console: Keep it warm and subtle, and hide the source.
- Candles, but make it safe: A cluster of flameless candles can read just as cozy.
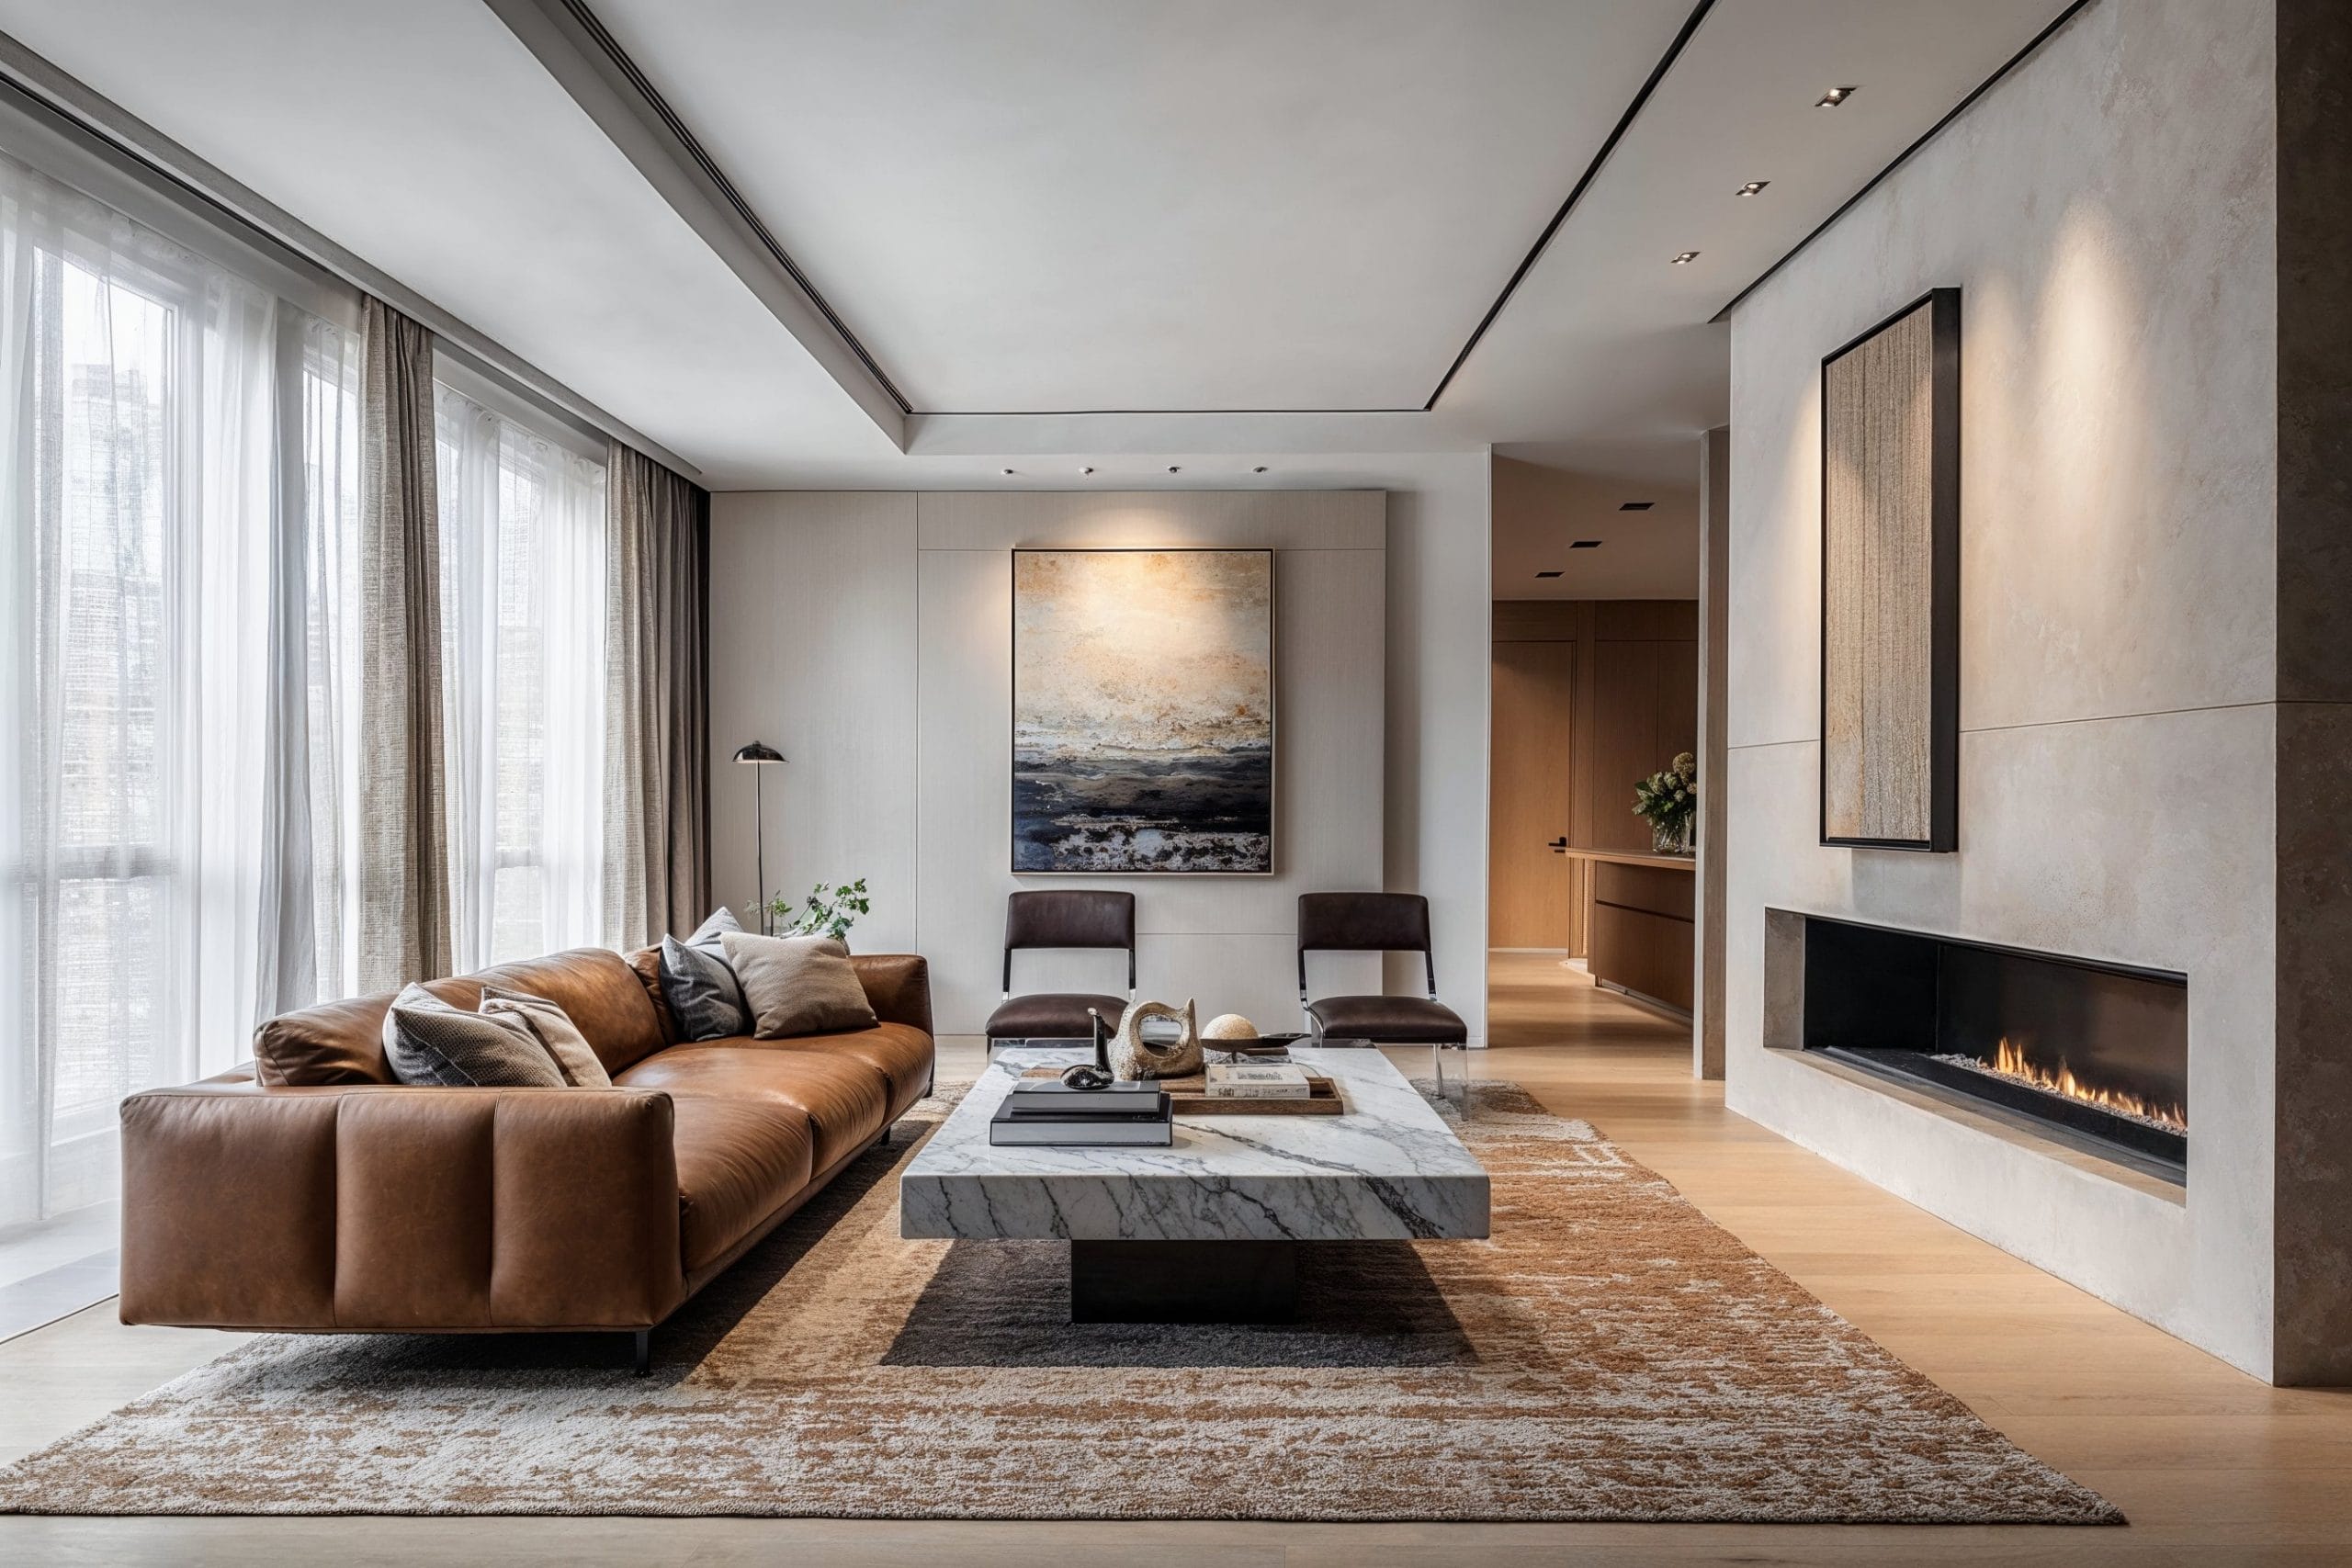
How to combine fixtures so the room feels finished
Start with a simple lighting recipe
If you want a shortcut that works in most living rooms, try this:
- 1 ambient source (ceiling fixture on dimmer, or a pair of lamps that fill the room)
- 2 task sources (one near the main sofa seat, one near a chair or desk zone)
- 1 to 3 accent sources (art light, shelf light, uplight, or a small lamp on a console)
This is not a rigid rule. It is a starting point that prevents the most common issue: one lonely overhead light doing all the work. It also gives your eyes a mix of overall glow, functional brightness, and a few intentional highlights, which is what makes a room feel designed instead of merely lit.
Match warmth first, style second
The easiest way to make mixed fixtures look cohesive is to unify the color temperature. For living rooms, I almost always prefer 2700K (warm) or 3000K (slightly brighter warm). If one lamp is cool white and another is warm, the room will look off, no matter how pretty the shades are.
- Cozy, candle-adjacent: 2200K to 2700K
- Warm but crisp: 3000K
- About 3500K to 4000K: This can work in some modern, art-forward homes, but it often reads cooler and less cozy in a living room than most people expect.
Use dimmers and smart bulbs like a stylist
Layered lighting is about control. You want to be able to shift from “Saturday cleaning” to “movie night” without rearranging your entire life.
- Dimmers: Add to ceiling lights whenever possible.
- Smart bulbs: Great for rentals and for lamps that need to do double duty.
- Plug-in dimmers: An underrated option for table and floor lamps.
Quick safety note: Only pair dimmers (wall or plug-in) with dimmable bulbs, and use dimmers rated for LEDs. The wrong combo can cause flicker or buzzing.
A quick note on shades and glare
If a lamp hurts your eyes when you sit down, it is not you. It is the shade and bulb combination.
- Fabric or paper shades diffuse light softly and flatter skin tones.
- Clear glass looks airy, but it can glare. Consider frosted bulbs.
- Dark shades create mood, but they reduce output. Use them as accent or secondary light sources.
- If glare is the issue: Choose a lower-lumen bulb (instead of thinking in watt equivalents), or pick a shade that hides the bulb from your seated view.
Examples that solve real living room problems
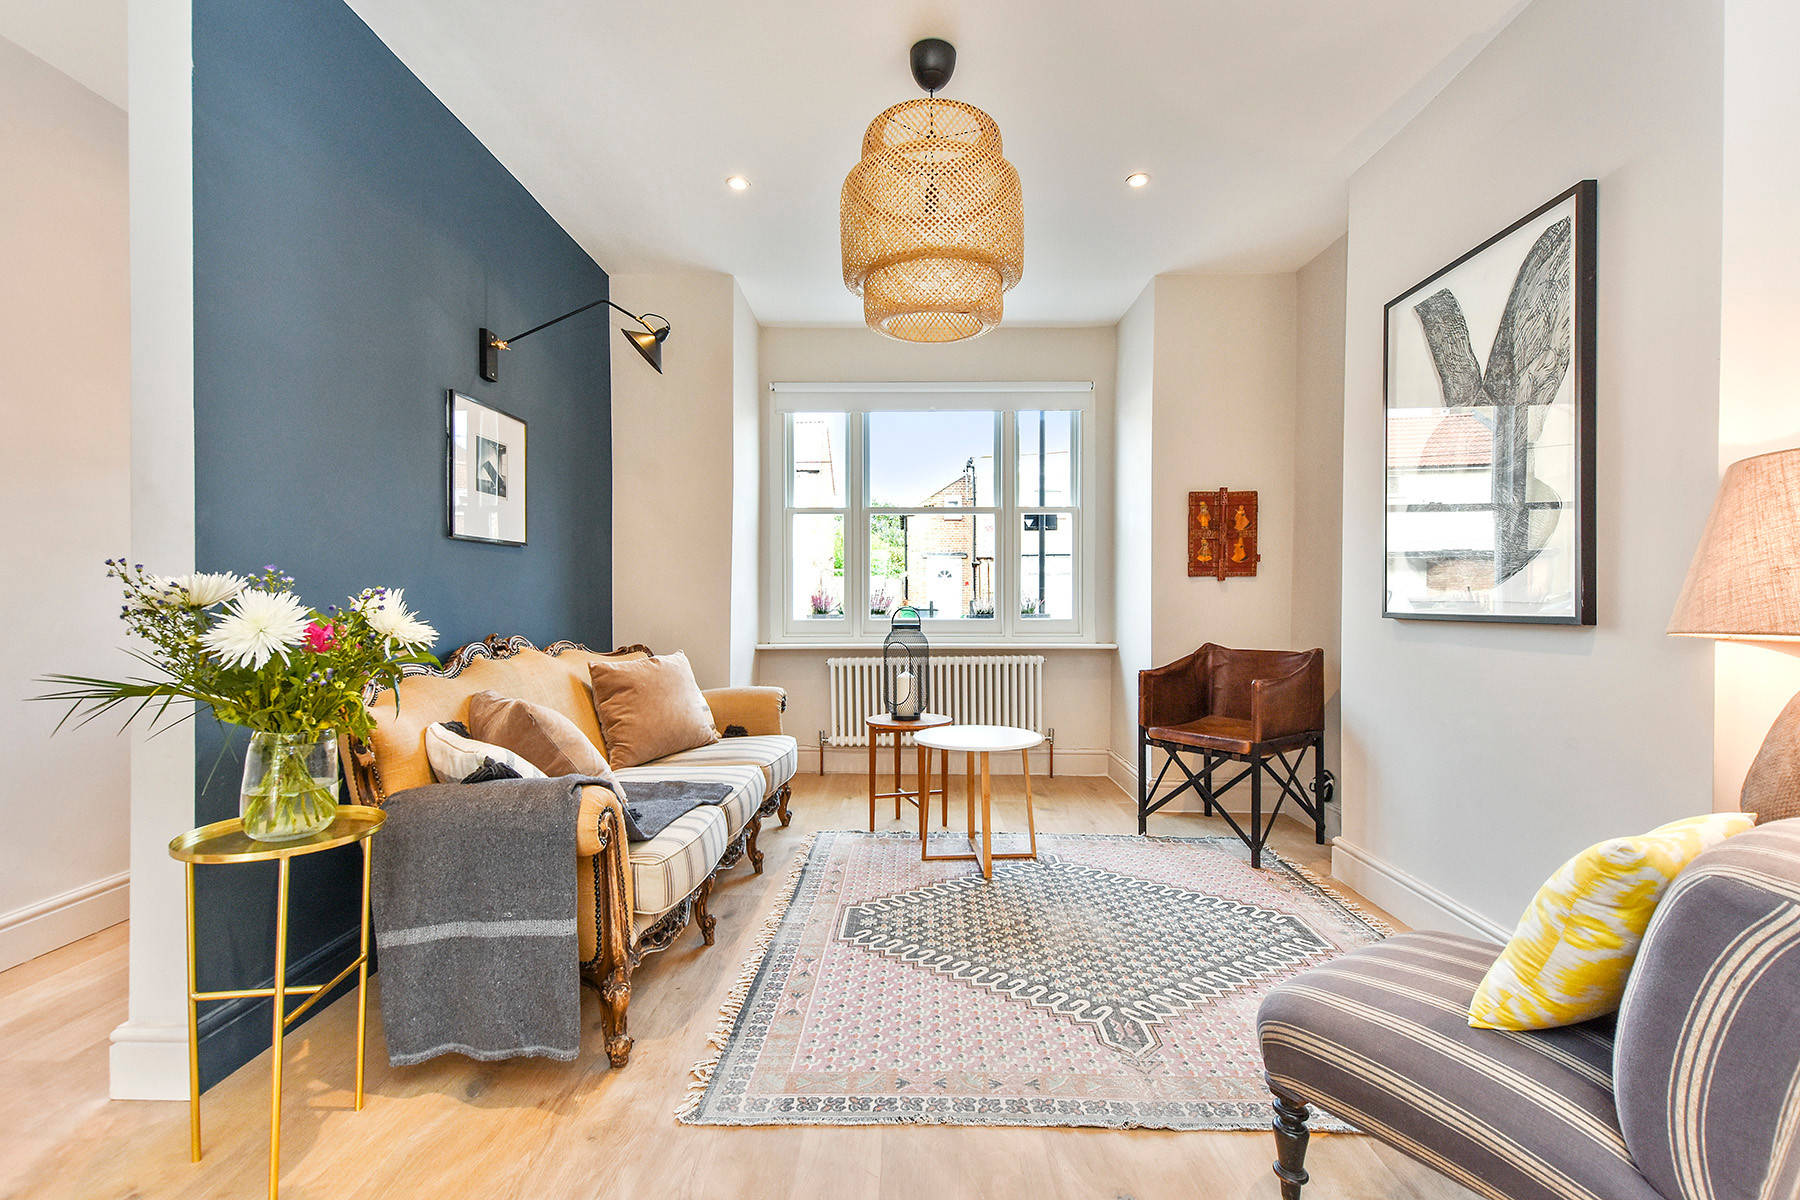
Small living room: big mood, minimal footprint
In a small room, lighting has to earn its keep. Choose pieces that are slim, vertical, or wall-mounted.
- Ambient: A flush mount or semi-flush ceiling fixture on a dimmer. If you cannot change it, use two plug-in sconces flanking the sofa.
- Task: An arched floor lamp that reaches over the sofa without needing a side table.
- Accent: A tiny lamp on a narrow console, or a warm LED strip hidden under a floating shelf.
Stylist tip: Swap bulky side tables for a petite drink table and let a floor lamp handle the lighting. You gain surface space and visual breathing room.
Dark living room: brighten without turning it sterile
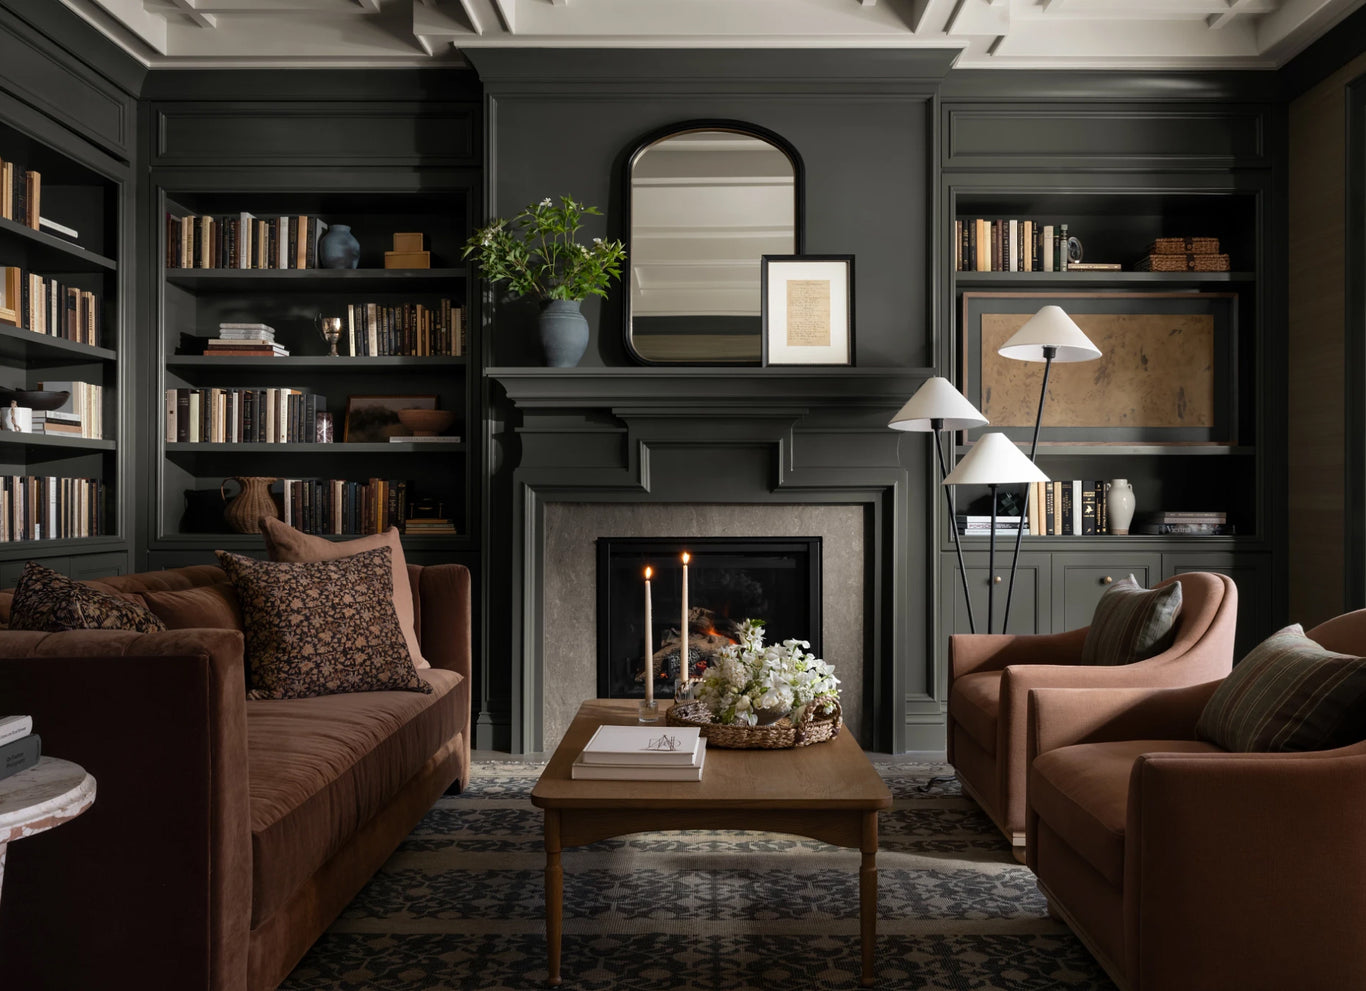
Dark rooms often have one of three issues: minimal natural light, dark finishes that absorb light, or a single overhead source that creates shadows. You can fix all three with layers.
- Ambient: Add multiple points of light. Two table lamps across the room from each other can make the space feel brighter and more even than one very strong bulb, because the light is better distributed and shadows soften.
- Task: Put a proper reading lamp right where you sit. Aim for a brighter bulb in this one spot rather than blasting the entire room.
- Accent: Use wall-wash light. A picture light over art or an uplight aimed at a textured wall adds depth and makes the room feel less cave-like.
Bulb guidance: Choose high CRI bulbs (90+ if you can). Colors and skin tones look richer, especially in rooms that already feel dim.
Open-plan living room: define zones with light
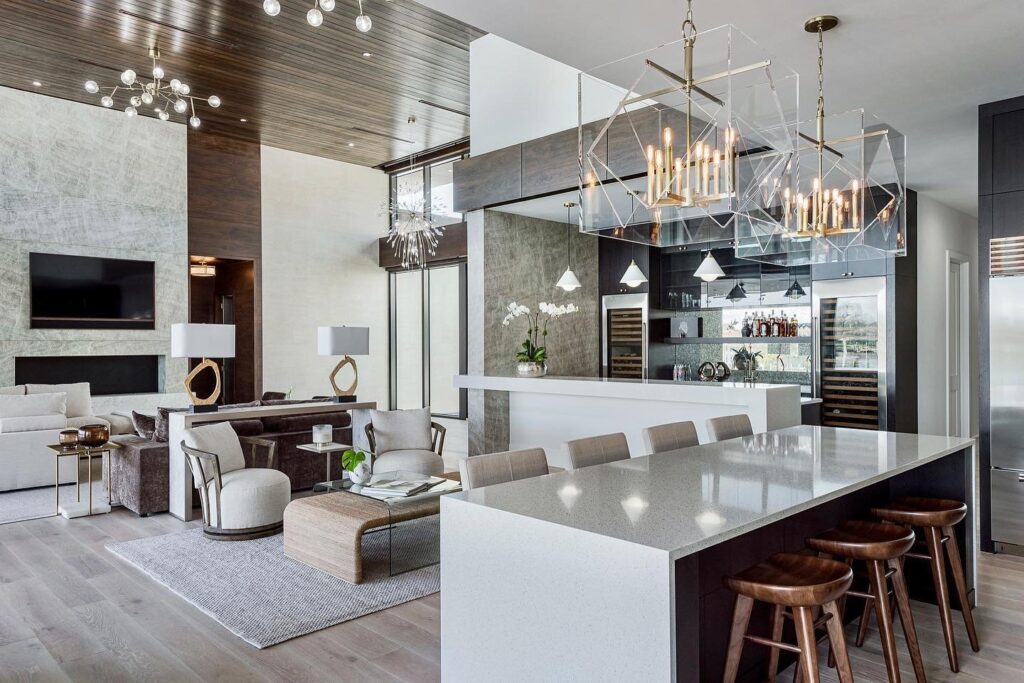
Open-plan spaces feel best when lighting helps draw invisible boundaries. You want each zone to feel intentional without making the whole space look like a showroom.
- Ambient: Use multiple overhead points if possible, such as a pendant over the seating area and another fixture near dining. If that is not possible, mimic zones with lamps.
- Task: Place a reading lamp in the living zone and a focused lamp near any desk or console workspace.
- Accent: Add a small accent light in transitional areas, like on a bookshelf that sits between living and dining.
Stylist tip: Repeat finishes across zones. For example, black metal in the living room floor lamp and again in the dining pendant makes the whole plan feel cohesive, even if the styles differ.
Zone-by-zone placement cheat sheet
The sofa zone
- Must-have: One task light within arm’s reach.
- Easy upgrade: Add a second lamp on the opposite side for balance.
- Accent idea: A small picture light over art above the sofa.
The TV area
- Must-have: Soft backlighting or side lighting to reduce eye strain.
- Easy upgrade: A warm LED strip behind the media console, hidden from view.
- Avoid: A bright lamp reflecting in the screen.
A reading chair corner
- Must-have: An adjustable lamp aimed at the book, not your eyes.
- Easy upgrade: Add a small side table with a low, warm lamp for a layered look.
- Accent idea: An uplight behind the chair to create a halo on the wall.
Common layered-lighting mistakes (and the fixes)
- Mistake: Everything is the same brightness. Fix: Put at least one light on a dimmer, and vary intensity across the room.
- Mistake: Bulbs do not match. Fix: Choose one temperature (2700K or 3000K) for most fixtures.
- Mistake: Lamps are too small. Fix: Go taller, especially next to sofas. Height creates presence and improves function.
- Mistake: Glare from exposed bulbs. Fix: Add a shade, switch to frosted bulbs, or choose a lower-lumen bulb.
- Mistake: A beautiful corner still feels dead at night. Fix: Add one tiny accent light. A $20 puck light can change the whole mood.
My slow-decorating approach: build your lighting over time
If doing all of this at once feels like a lot, I want you to know that most well-lit homes were not completed in one weekend. Start with comfort and function, then layer in the personality.
- Week 1: Get one solid task lamp where you sit most often.
- Month 1: Add a second light source across the room to balance.
- Season 1: Choose one accent moment, like an art light or shelf glow.
This is how you avoid impulse-buying five matching lamps and wondering why the room still feels flat.
FAQ
Do I need overhead lighting for a living room?
No, but you do need enough ambient light. If you do not have a ceiling fixture (or you hate it), you can create ambient light with multiple lamps and plug-in sconces. The goal is a comfortable overall glow, not a specific fixture type.
What bulb brightness should I use?
It depends on the fixture and shade, but these are helpful starting points. Shade opacity, lamp height, ceiling height, and distance to your seating can all change what feels right.
- Table lamps (ambient): 400 to 800 lumens each for a softer layered glow (go higher if you have very dark shades or tall ceilings, or if you are using a dimmer)
- Reading lamps (task): 1000 to 1600 lumens aimed where you read
- Accent lights: 200 to 600 lumens, usually dimmer and warmer
Should all my lamps match?
No, and I actually prefer they do not. Matching is less important than cohesion. Repeat one or two elements (warm bulbs, similar shade shapes, or a shared metal finish) and let the rest be collected over time.
How do I make cheap lighting look expensive?
Use warm, high-quality bulbs, choose shades that diffuse light (linen-look, paper, fabric), hide cords neatly, and prioritize one statement piece in a visible spot. Vintage lamps with new shades are one of my favorite high-low tricks.
What bulb details actually matter?
If you want your room to look good in real life (and in photos), prioritize high CRI (90+ if you can), flicker-free bulbs when possible, and dimmable bulbs if you plan to use any kind of dimmer. For accent lighting, beam angle matters too: a narrow beam reads dramatic and focused, while a wider beam washes a wall more gently.