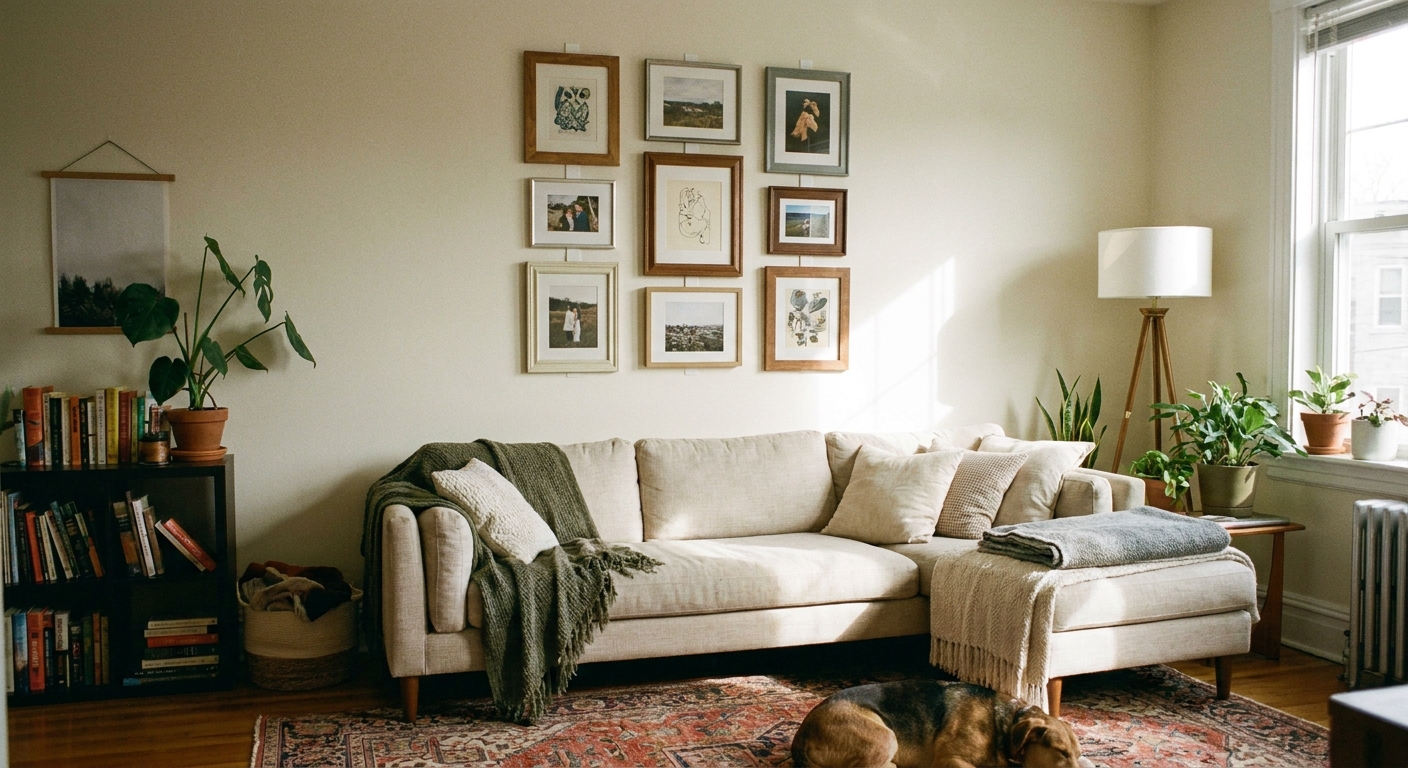
From peel-and-stick wallpaper to oversized art and removable strip styling, these renter-safe wall decor ideas add personality without damaging paint or dryw...
home decor / design / interior decoration
Renter-Friendly Gallery Wall Ideas That Won't Damage Paint

Maya Thorne
Maya Thorne is an interior stylist and the creative voice behind Homoraa. With over a decade of experience blending vintage finds with modern aesthetics, she helps readers transform ordinary spaces into personalized sanctuaries. When she is not rearranging her living room, she can usually be found hunting for unique ceramics and textiles at local flea markets.
Created: September 26, 2026
Updated: September 26, 2026
A gallery wall can make a rental feel like yours in an afternoon. The trick is choosing methods that are truly reversible , then styling with intention so it looks curated, not temporary. Below are my favorite renter-safe approaches, plus the layout steps I use when I want that polished, slow-decorated look without a single spackle patch.
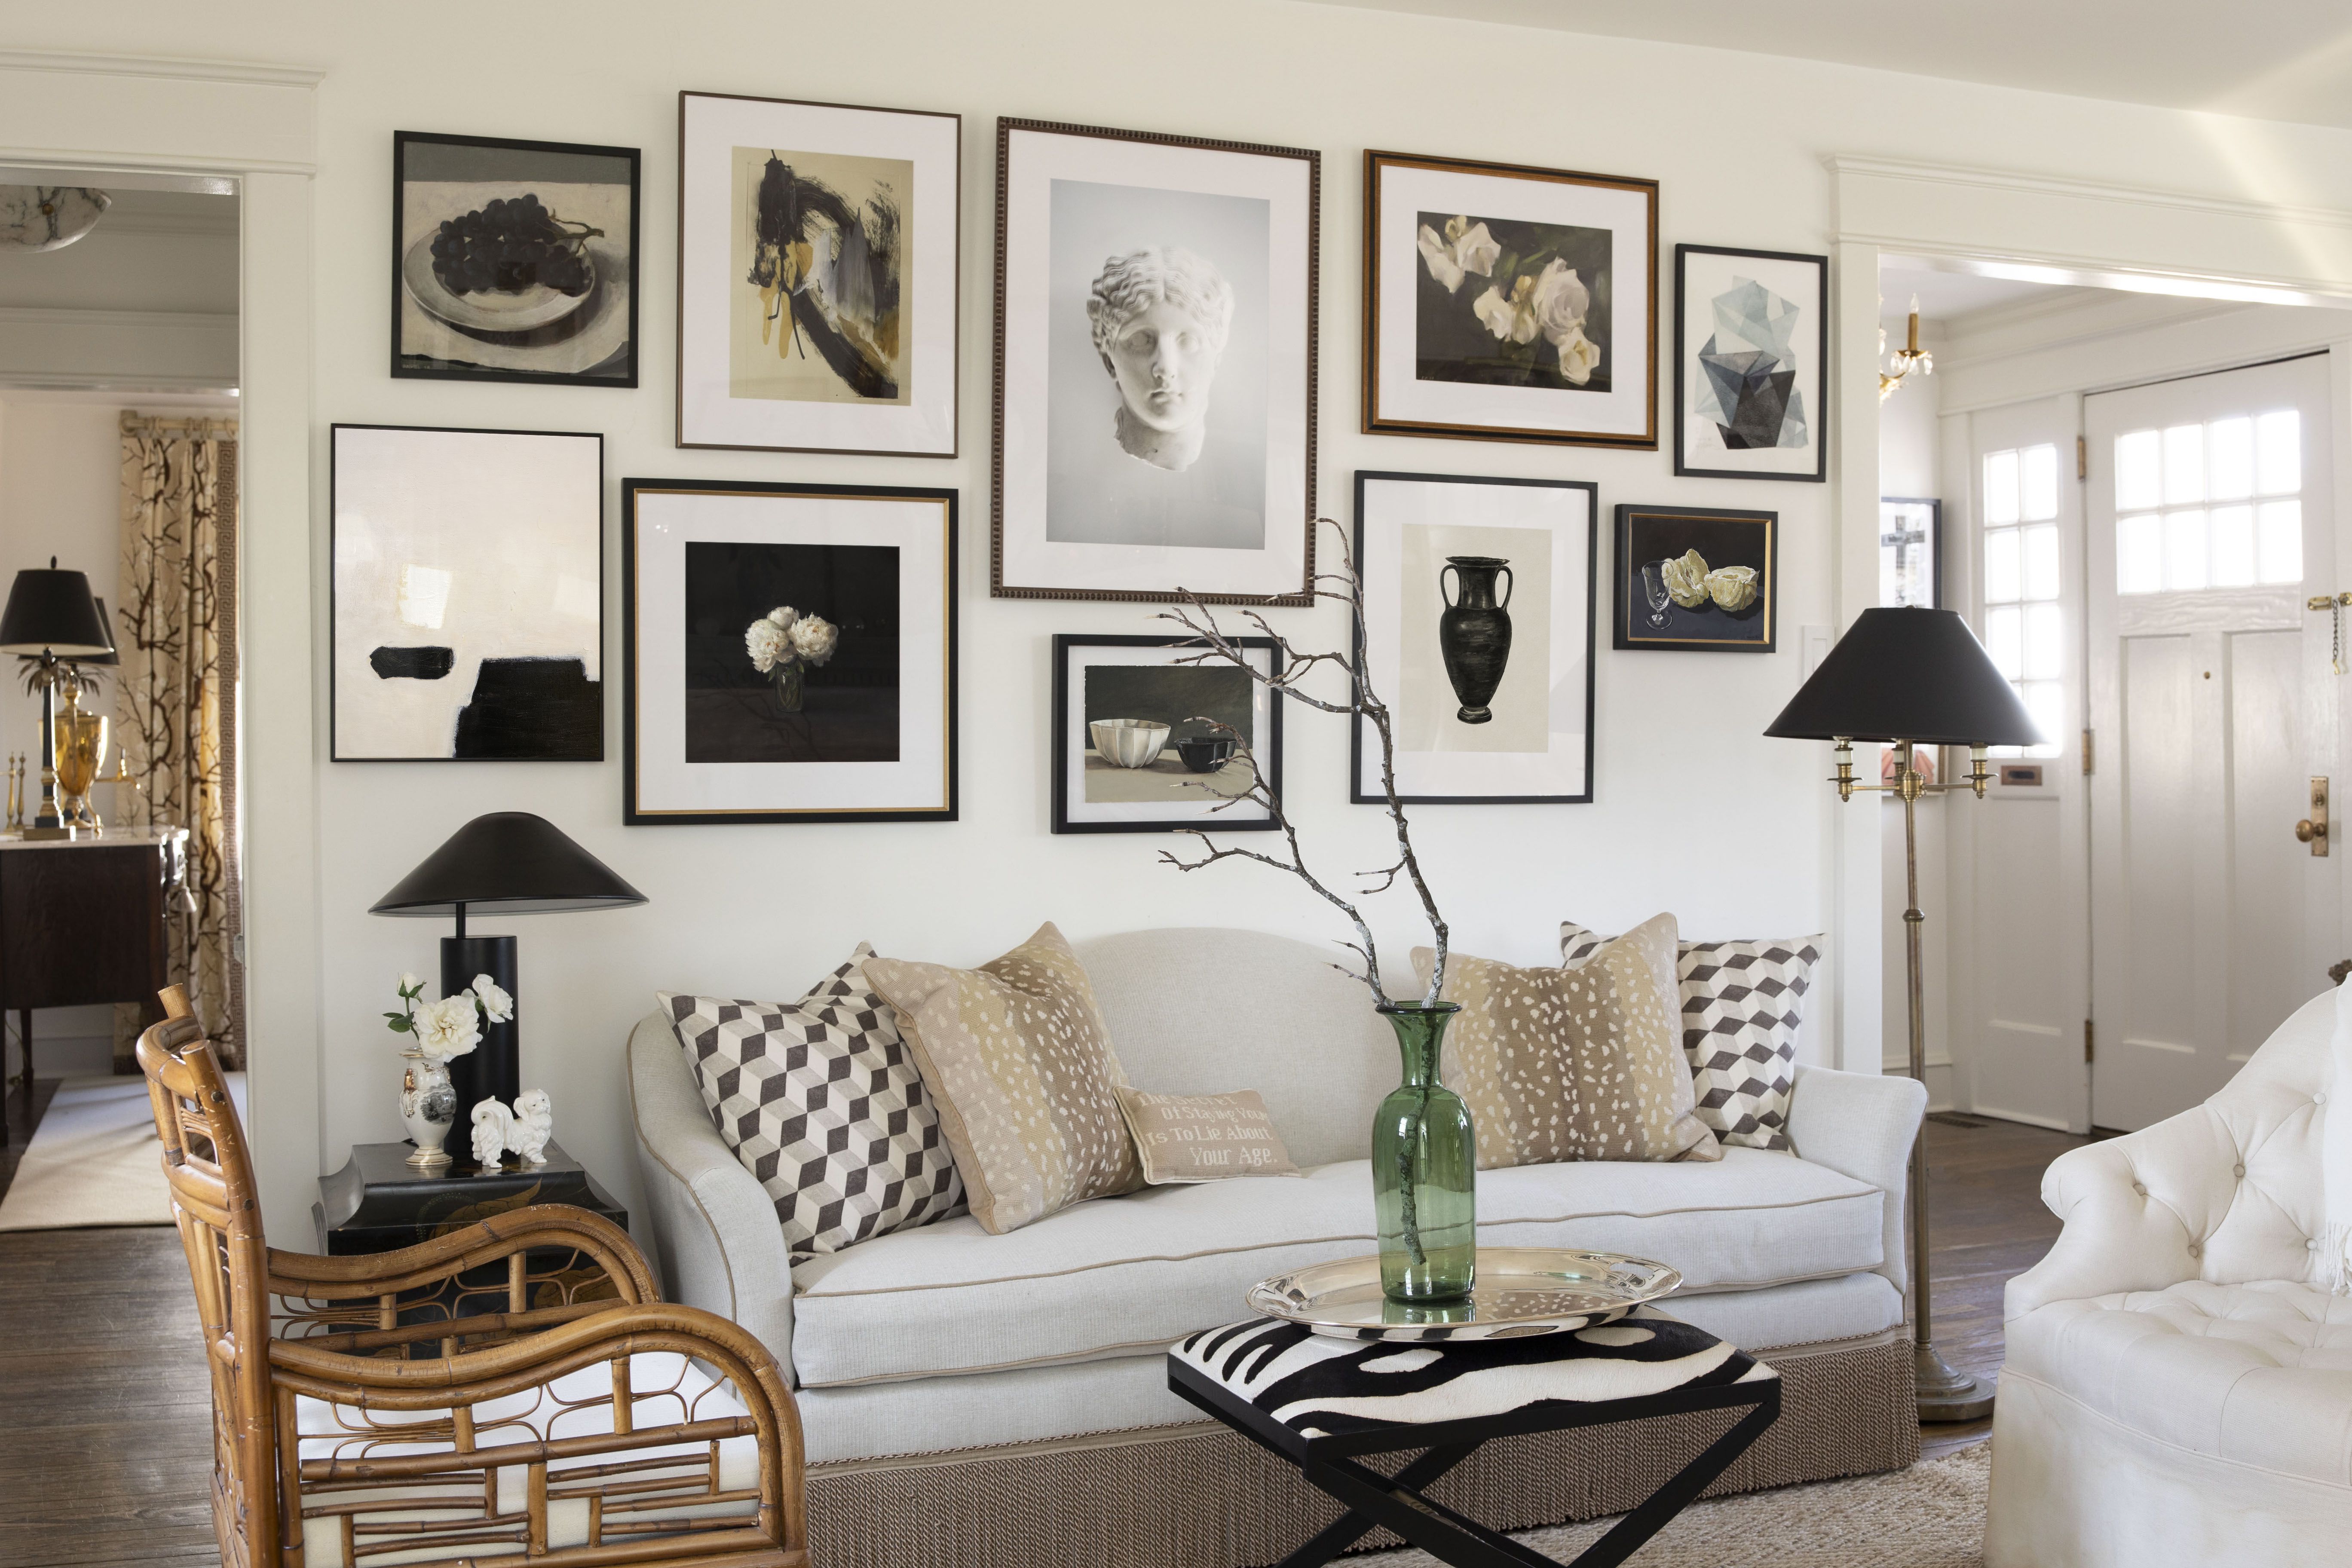
Before you hang: a quick rental check
This little prep step prevents most paint drama.
- Check your lease (and ask if needed): Some landlords are fine with pin holes but not adhesives, or vice versa. It is worth a quick confirmation before you commit.
- Know your wall finish: Flat and matte paints are more delicate than satin or semi-gloss. If you have flat paint, choose lighter frames and gentler adhesives.
- Note the wall material: Adhesives can struggle on heavy texture and can damage wallpaper. If you have wallpaper, brick, or very textured walls, lean art or use furniture-based ledges instead of sticking anything to the wall.
- Clean the wall: Wipe with a dry microfiber cloth first. If it feels grimy, use a barely damp cloth and let it fully dry. Adhesives fail on dust.
- Let fresh paint cure: If your place was just painted, check the paint and strip manufacturer guidance. Cure time varies, but it is often 2 to 4+ weeks before adhesive products behave well.
- Test in a hidden spot: Put one strip behind a door or low near a baseboard for 24 hours. Remove slowly to see how the paint behaves.
- Keep it light: The less weight, the less risk. Swap glass for acrylic, choose thinner frames, and skip deep shadowboxes.
Option 1: Removable hanging strips
If you want frames that sit flush like they are professionally installed, removable hanging strips are your best friend. They are especially good for medium to small frames and for grid layouts.
How to use them without peeling paint
- Match the strip rating to the frame weight and use more strips than you think you need. I like one pair in each upper corner for most frames, plus a stabilizer pair near the bottom for wider pieces.
- Press firmly for the full time recommended on the package. Rushing this step is why frames drift.
- Follow the package wait time: Some products are ready quickly, others bond best after a longer set. When in doubt, wait longer for heavier frames.
- Add felt bumpers: Tiny felt pads on the bottom corners protect paint, prevent scuffs, and help frames sit straighter.
- Remove slowly and straight down: Take the frame off first, then pull the tab straight down, slowly, keeping it close to the wall. Think “slow and controlled,” not “rip it off.” Never pull outward.
Where strips shine
- Gallery grids and neat rows
- Small, tight spaces like hallways
- Above desks where you want a clean, aligned look
Safety note: If you are using adhesives, skip heavy pieces over beds, cribs, and seating. Choose lighter art, or switch to a ledge or leaning setup in these zones.
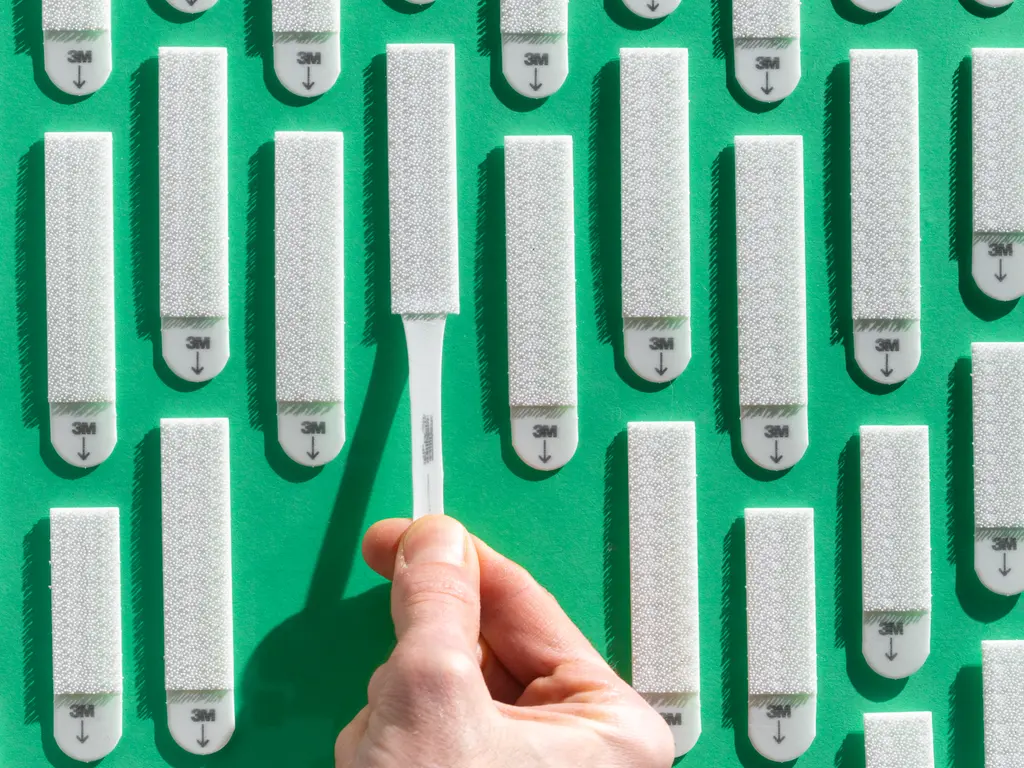
Option 2: Poster rails
Poster rails are a beautifully underrated rental hack. They let you swap art whenever your mood changes, which fits perfectly with slow decorating.
Ways to mount a poster rail without damage
- Use removable hooks at the top of the rail, then hang the rail from the hooks.
- Use removable strips along the back if the rail is lightweight and flat, and the wall surface is smooth enough for a strong bond.
How to make it look elevated
- Choose one rail size and repeat it for a calm, intentional rhythm.
- Use matte paper or textiles (like a small wall tapestry) for soft texture.
- Keep a consistent border around your prints so it reads as curated.

Option 3: Leaning frames
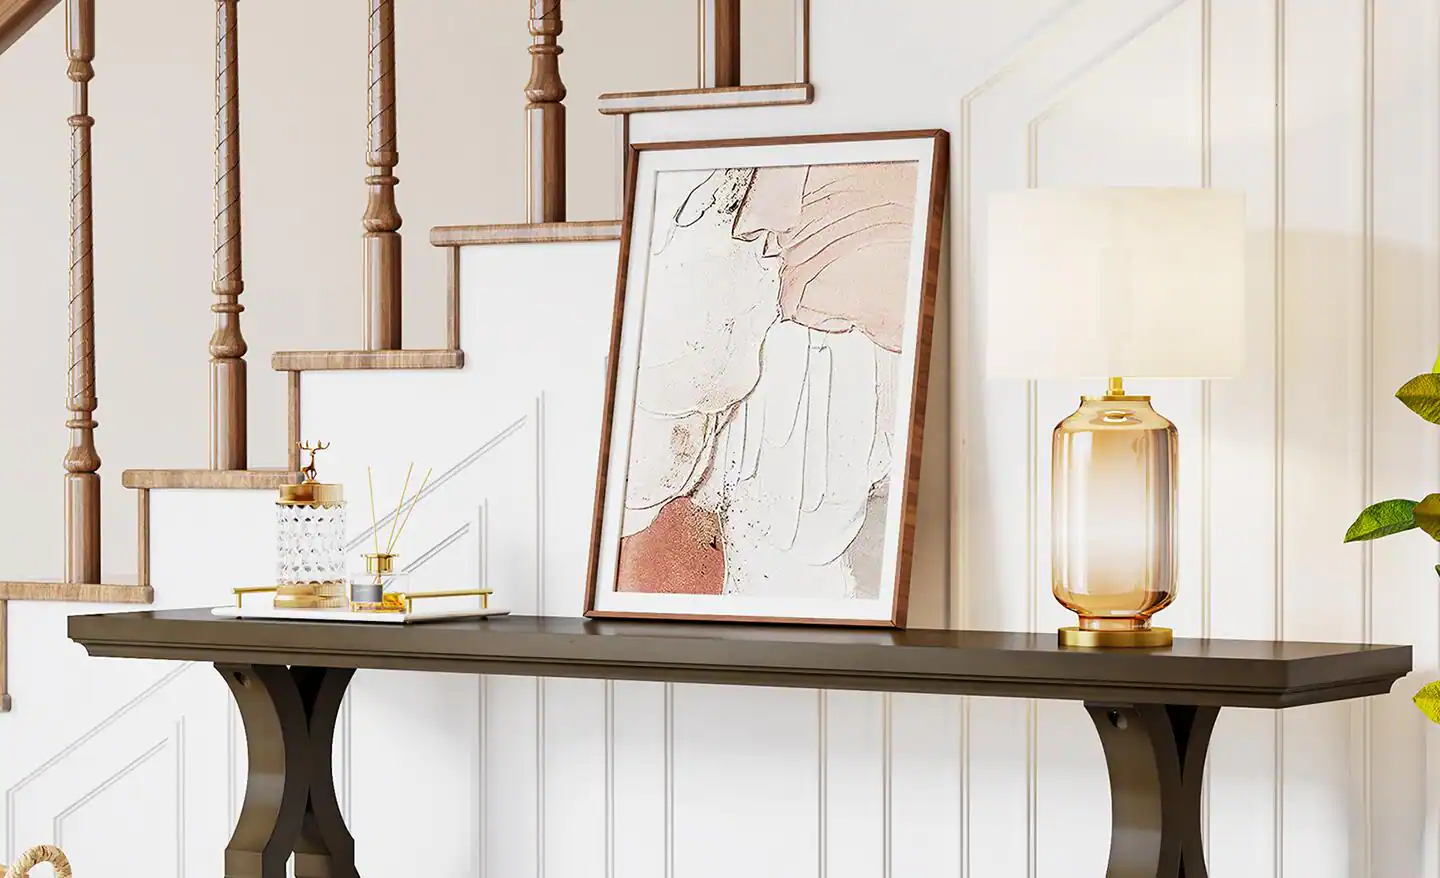
Leaning art is the gentlest option of all because it relies on gravity, not adhesives. It also gives you that layered, lived-in look I love in small spaces.
Best places to lean a gallery
- On a console table behind a sofa
- On a dresser or sideboard
- On a deep windowsill (if it is stable and not in harsh sun)
Make leaning frames feel intentional
- Start with one large anchor frame in back.
- Layer 2 to 5 smaller frames in front, overlapping corners slightly.
- Add one object with height nearby, like a vase with branches, to balance the composition.
Safety note: If you have pets or little ones, use a non-slip liner under frames or choose shatter-resistant acrylic fronts.
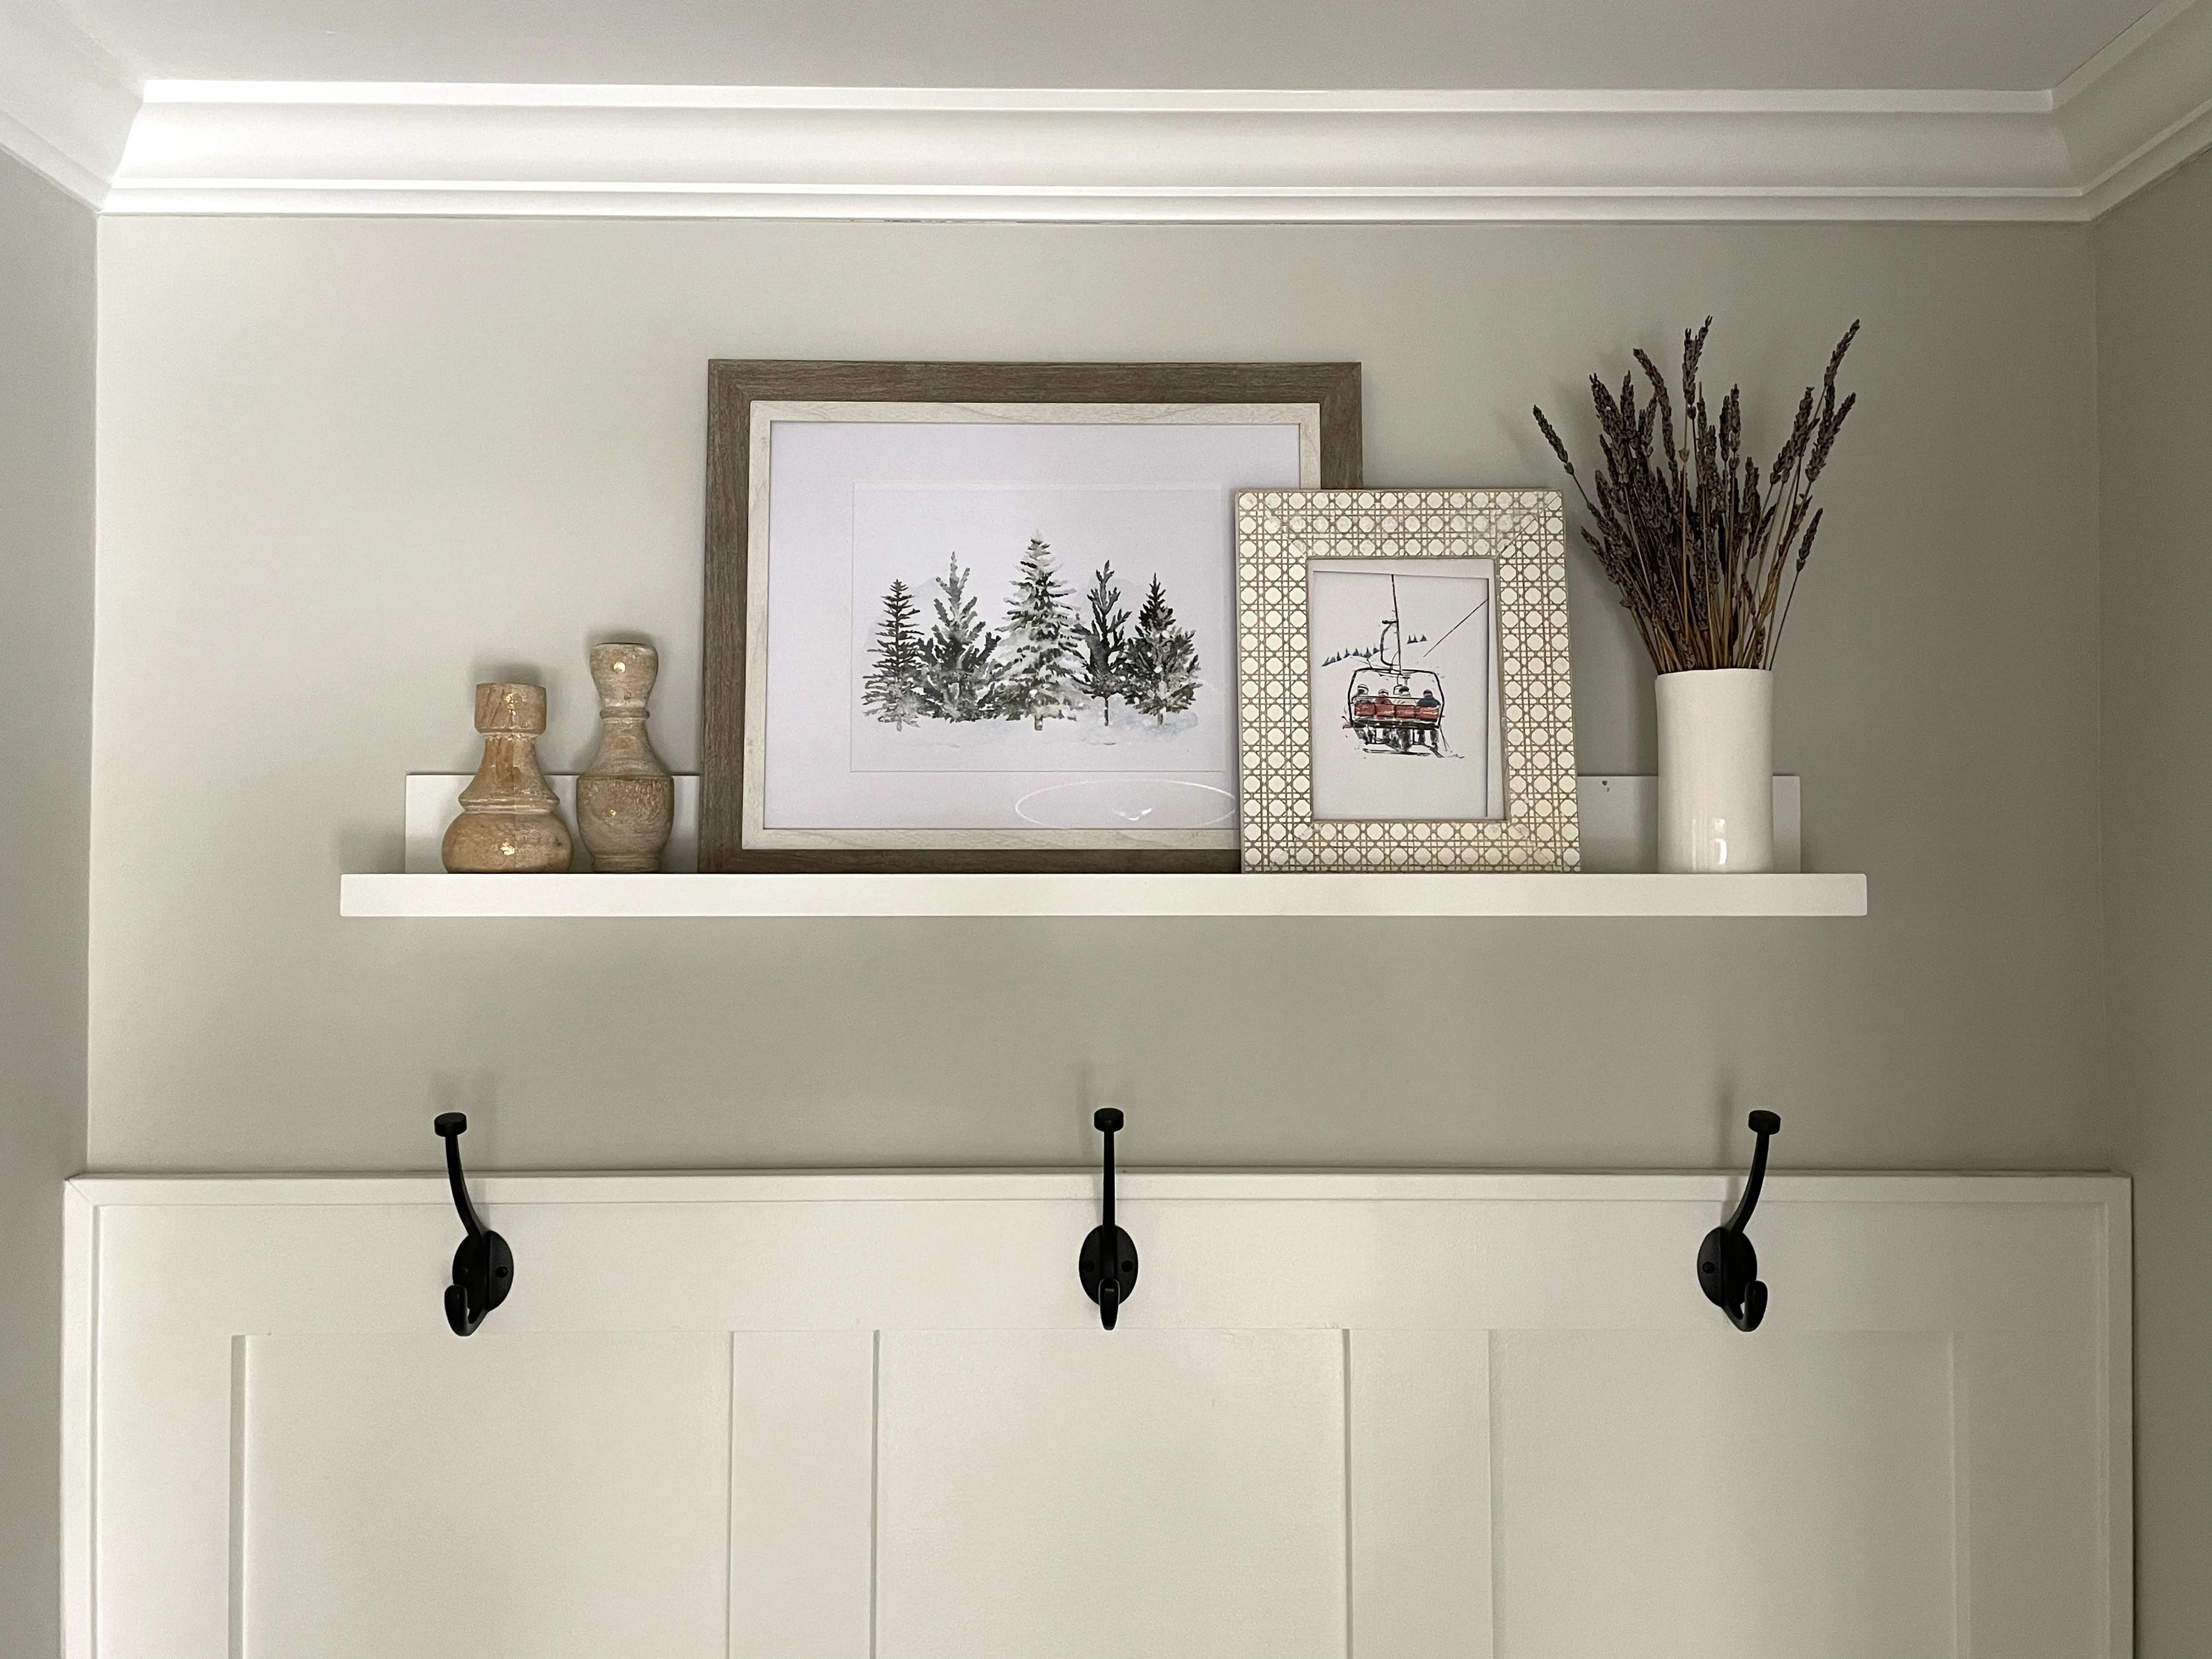
Option 4: Picture ledges and shelves
Picture ledges give you maximum flexibility with minimal commitment. You can rest frames, small mirrors, and even tiny sculptural pieces, then shift things around whenever you want a refresh.
Renter-friendly ways to add a ledge
- Use removable mounting strips only for ledges that are designed and weight-rated for adhesive mounting, on smooth walls, and with a very conservative load.
- Use a freestanding shelf (like a narrow etagere) and treat the top two shelves as your “gallery wall.”
- Try a mantle-style ledge resting on furniture: place a long, low ledge on a dresser and let frames sit inside it.
Caution: Adhesive-mounted ledges can fail if overloaded or installed on textured walls. Avoid adhesive shelves above beds and seating, and always verify weight ratings.
Styling formula for a ledge gallery
- Mix frame heights but keep finishes consistent (all black, all oak, or a controlled mix).
- Add one unexpected texture like a small textile, a plate on a stand, or a woven basket tray.
- Leave breathing room. Negative space is what keeps it from looking cluttered.
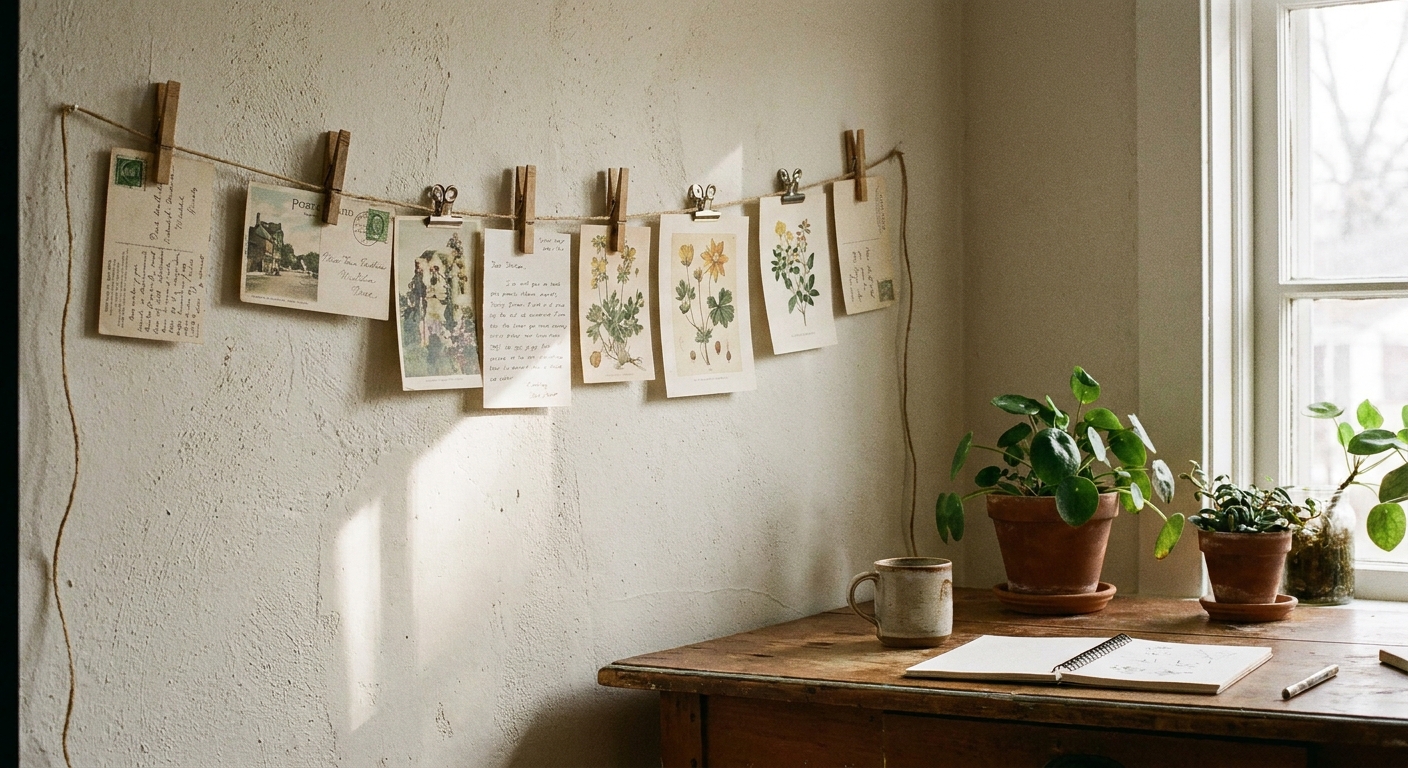
Option 5: Hooks and a clip line
If you love a studio feel, hang a thin wire or string between two removable hooks and clip lightweight prints with mini clothespins or binder clips. It is playful, changeable, and perfect for paper goods.
Best for
- Postcards and travel mementos
- Kids art and notes
- Small photos printed on matte paper
- Seasonal swaps
Tip: Keep the clips all the same finish (all black or all brass) so the line looks intentional rather than improvised.
Plan the layout
The biggest difference between “random frames on a wall” and “gallery wall” is planning. Here is my no-stress method.
Step 1: Choose your anchor
Pick one piece to lead. It can be the largest frame, a mirror, or a bold print. This is the piece that sets the mood and scale.
Step 2: Choose your shape
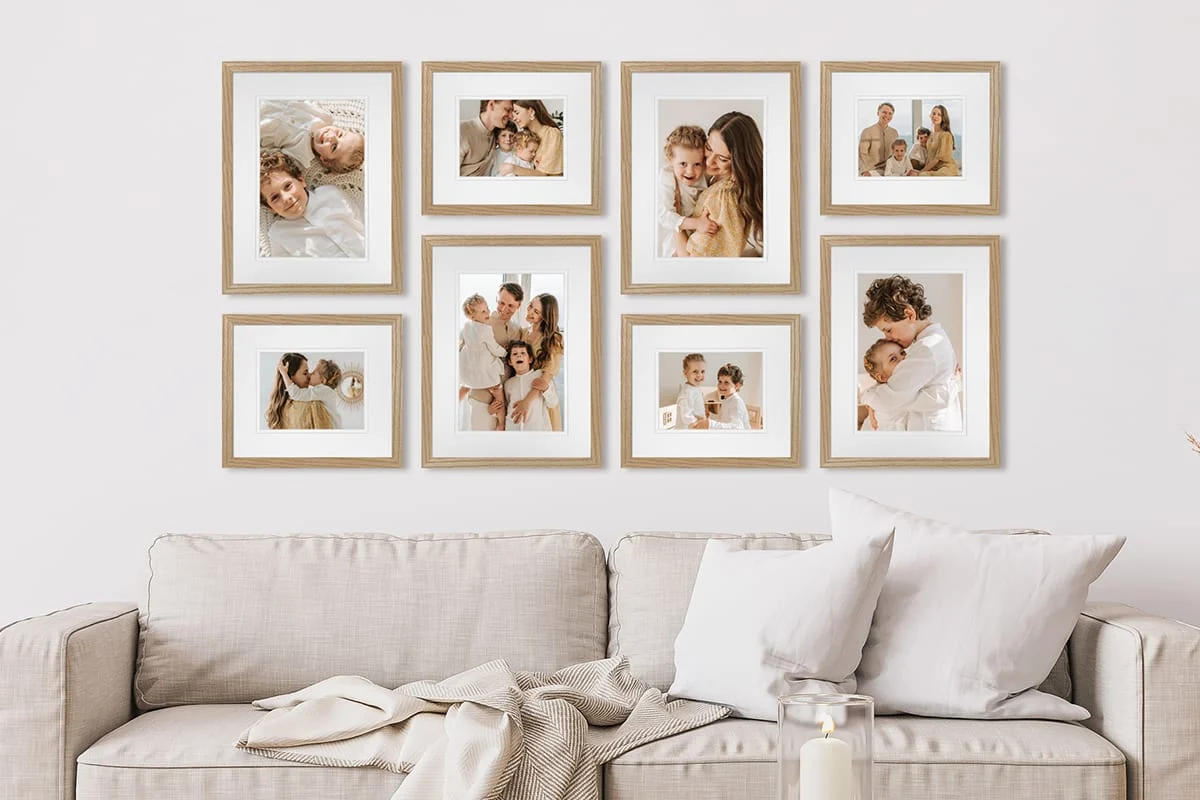
- Grid: calm, modern, great for small spaces and clean lines.
- Organic cluster: collected, cozy, great for vintage mixes.
- Single row: ideal for narrow hallways or above a headboard.
- Corner wrap: extends around an inside corner, perfect for desks, reading corners, and awkward nooks.
Step 3: Lay it out on the floor first
Arrange your frames on the floor to match the wall area. Take a photo, then adjust spacing. I like 2 to 3 inches between frames for most walls.
Step 4: Use paper templates
Trace each frame on kraft paper or printer paper, cut it out, and tape the templates to the wall with painter’s tape. This is the renter-safe way to audition placement and height.
Step 5: Set the height rule
A classic guideline is to place the center of the whole gallery around 57 to 60 inches from the floor. Above furniture, aim for 6 to 8 inches above the top of the piece.
Style guides by look
Minimal and modern
- Frames: thin black, white, or light oak
- Art: line drawings, monochrome photography, abstract shapes
- Layout: grid or clean rows
- Color tip: keep it to 2 to 3 tones max for instant calm
Warm vintage mix
- Frames: thrifted wood, brass tones, a few ornate pieces
- Art: landscapes, botanical prints, old portraits, needlepoint
- Layout: organic cluster with varied sizes
- Styling trick: repeat one element (like a cream mat) to unify the mix
Scandi cozy
- Frames: blonde wood and simple white mats
- Art: soft neutrals, nature photography, gentle abstracts
- Layout: symmetrical but not rigid, think loose grid
- Texture add-on: one small textile piece or woven wall accent nearby
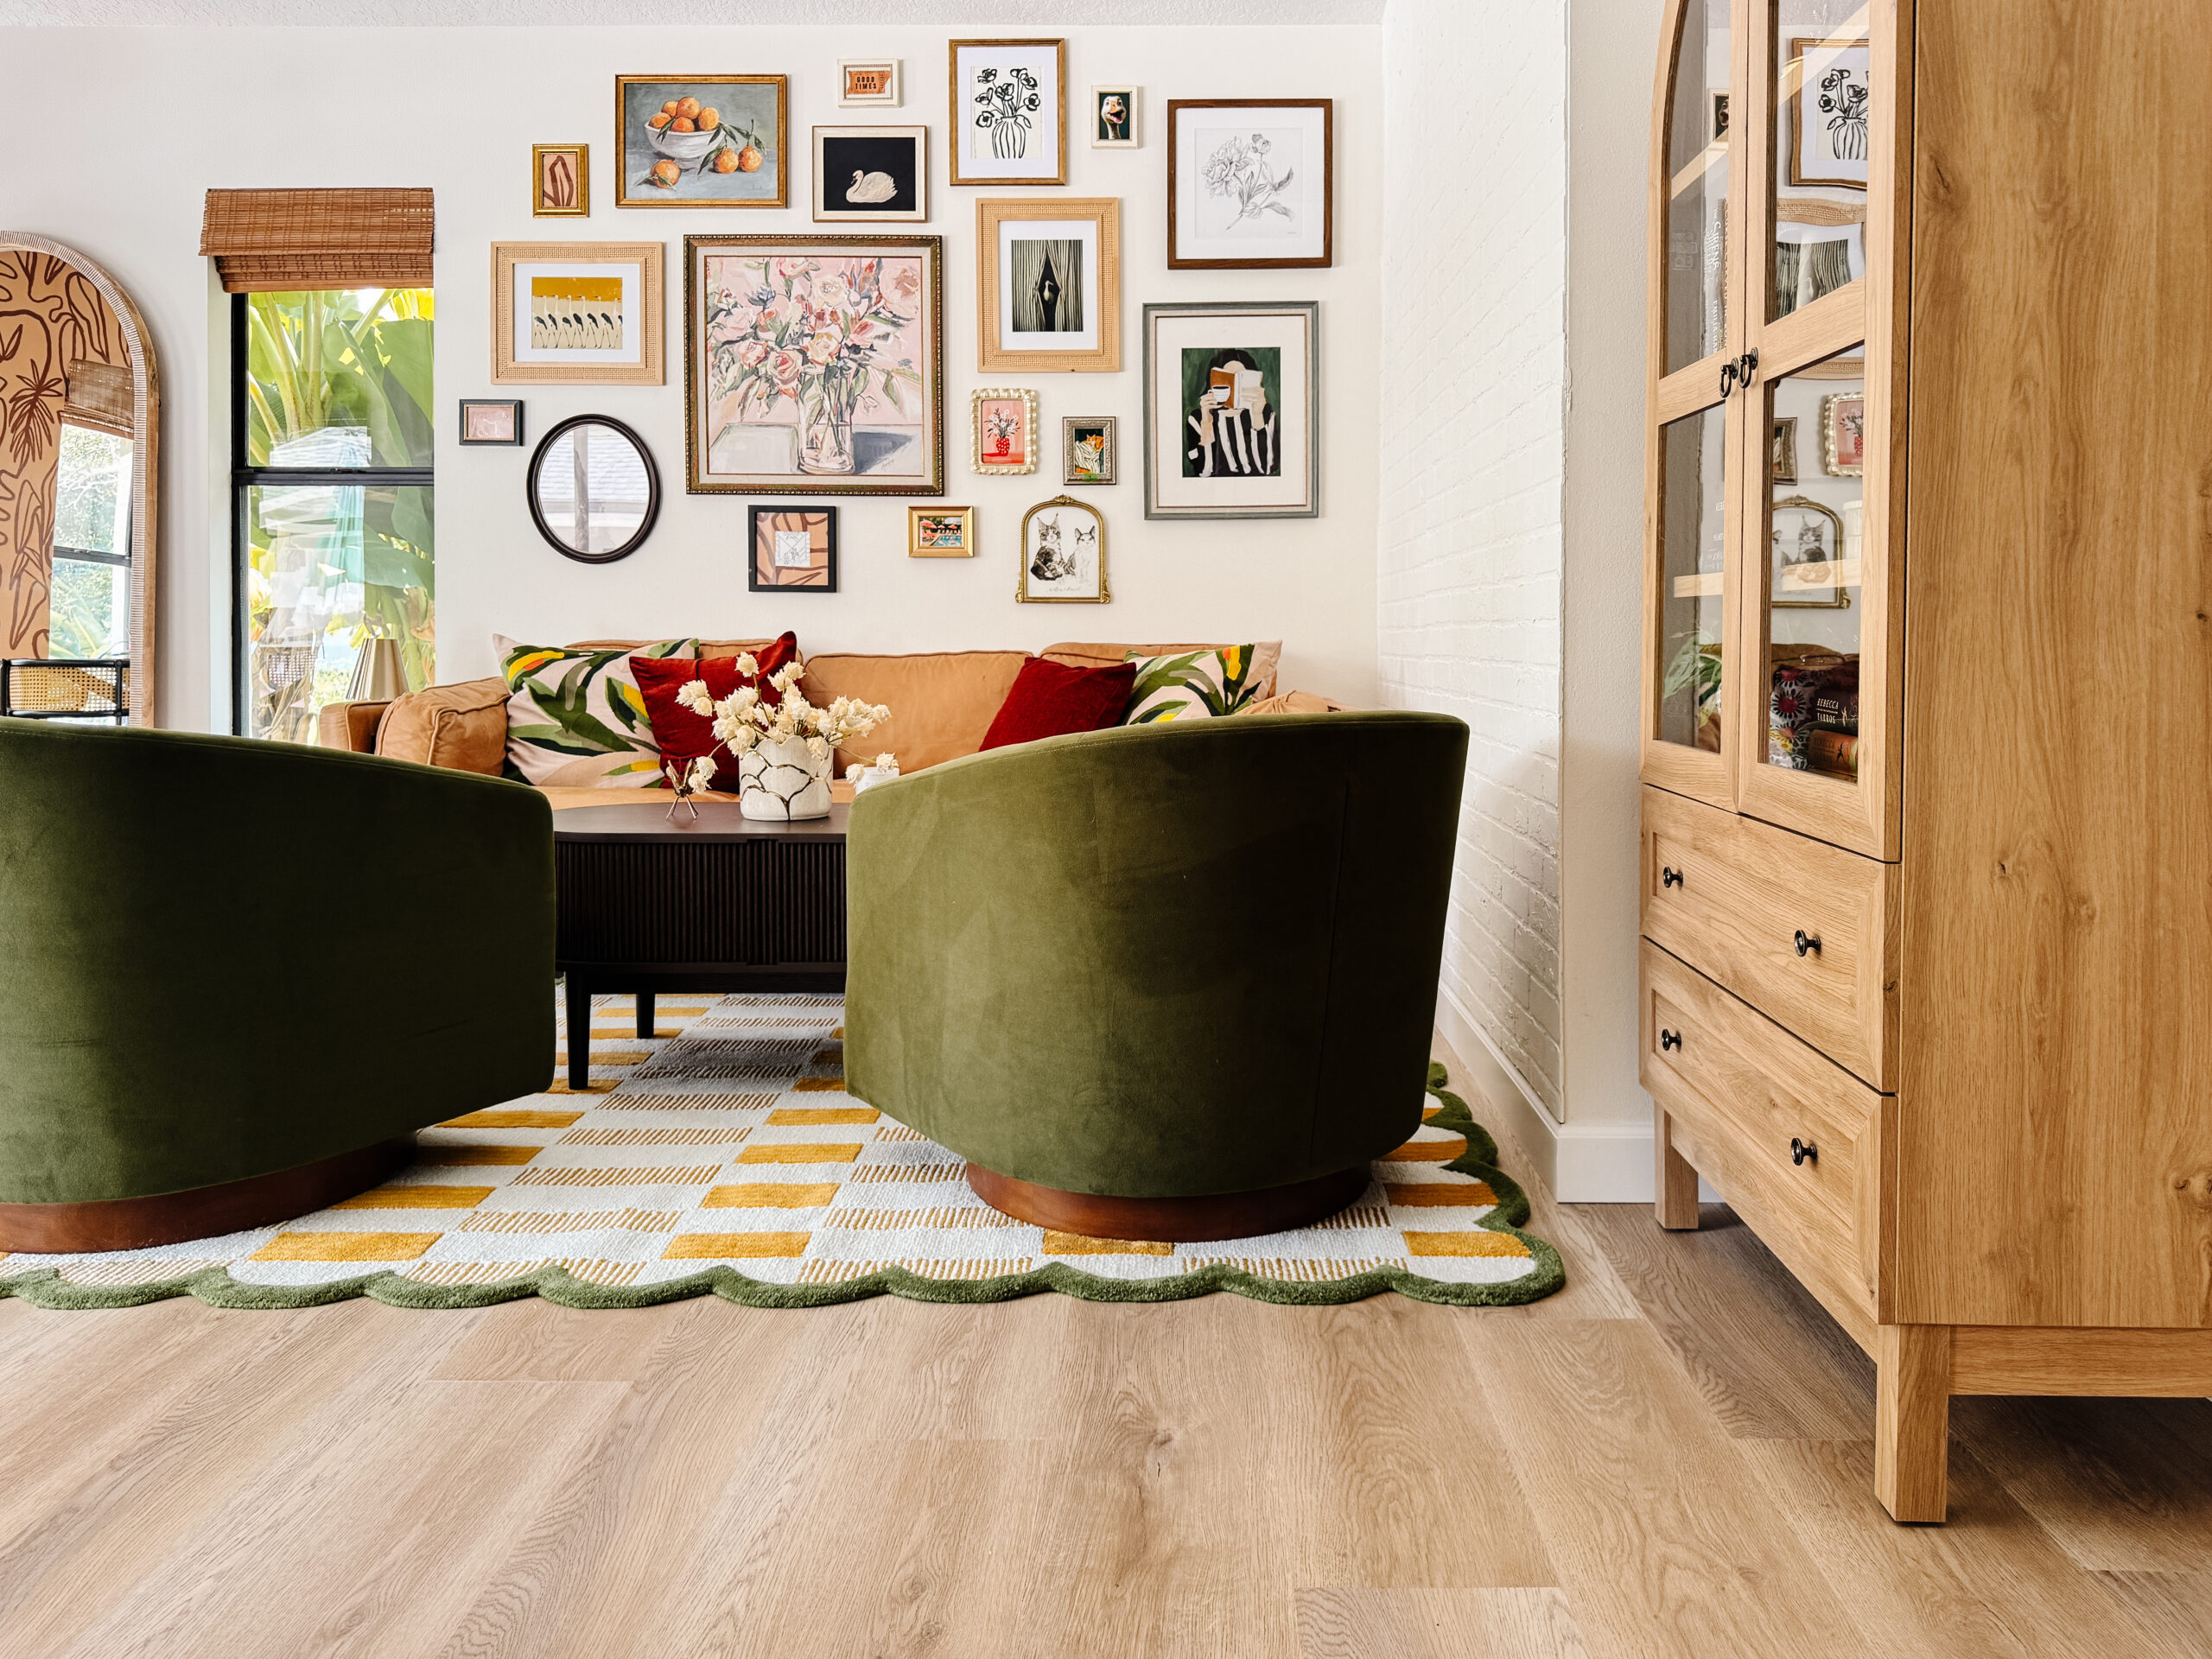
Eclectic color lover
- Frames: mix finishes but repeat 1 to 2 colors
- Art: graphic prints, bright abstracts, playful photography
- Layout: organic cluster with a bold anchor piece
- Color tip: choose a “thread” color (cobalt, rust, or chartreuse) and echo it 3 times
Modern boho
- Frames: warm woods, a little black, natural textures
- Art: sun-washed photography, textiles, sketches
- Layout: ledges or a relaxed cluster
- Extra: add a small ceramic wall piece or woven basket for dimension
Common renter mistakes
- Mistake: Hanging everything too high. Fix: Re-center the whole grouping so it relates to furniture and eye level.
- Mistake: Too many tiny frames scattered. Fix: Add one larger anchor or group small frames tightly so they read as one unit.
- Mistake: Adhesive fails and frames tilt. Fix: Clean the wall, use enough strips, add felt bumpers, and add a stabilizer strip at the bottom corners.
- Mistake: The wall looks busy. Fix: Introduce consistent mats, reduce the color palette, or build in negative space.
FAQ
Will removable strips damage paint?
They are designed not to, but paint type, wall texture, and prep matter. Matte paint, uncured paint, wallpaper, or dusty walls increase the chance of damage. Test first, keep frames lightweight, and remove by pulling the tab straight down slowly.
What is the most renter-safe option?
Leaning frames on furniture or styling a gallery on a freestanding shelf is the lowest-risk method because it avoids adhesives on paint entirely.
How do I keep a gallery wall from looking messy?
Repeat something on purpose: frame finish, mat color, or a tight color palette. Then keep spacing consistent and let one larger piece act as the anchor.
Can I do a gallery wall with posters only?
Absolutely. Use poster rails, clip lines, or slim frames with acrylic fronts. Posters look most elevated with generous white borders or simple mats.
A simple starter recipe
If you are starting from zero, try this balanced mix that works in almost any rental living room:
- 1 large anchor piece (around 18 × 24 or 24 × 36)
- 2 medium frames (around 11 × 14 or 12 × 16)
- 3 to 5 small frames (around 5 × 7 or 8 × 10)
- One unframed element for softness, like a textile in a poster rail
Lay it out on the floor, tape templates to the wall, then hang using removable strips. Give yourself permission to tweak it over time. A great gallery wall is not a single purchase. It is a story you keep adding to.


