A complete, step-by-step $500 small bedroom makeover: paint choices that expand the room, storage-friendly furniture swaps, and styling tips that look custom...
home decor / design / interior decoration
Renter-Friendly Bathroom Makeover: 10 Reversible Upgrades Under $100

Maya Thorne
Maya Thorne is an interior stylist and the creative voice behind Homoraa. With over a decade of experience blending vintage finds with modern aesthetics, she helps readers transform ordinary spaces into personalized sanctuaries. When she is not rearranging her living room, she can usually be found hunting for unique ceramics and textiles at local flea markets.
Created: September 11, 2026
Updated: September 11, 2026
Rental bathrooms have a special talent for feeling both too beige and too permanent at the same time. The good news is you can make a dramatic difference, often for under $100, with upgrades that are easy to reverse when you move out. (Your total depends on the size of your bathroom, what you already own, and whether you need a couple basic tools.) The key is choosing changes that sit on top of what you have, not changes that fight your lease.
I think of this as “soft renovation”: you are styling, not remodeling. You are improving the way the room works and feels without touching anything your landlord considers structural.
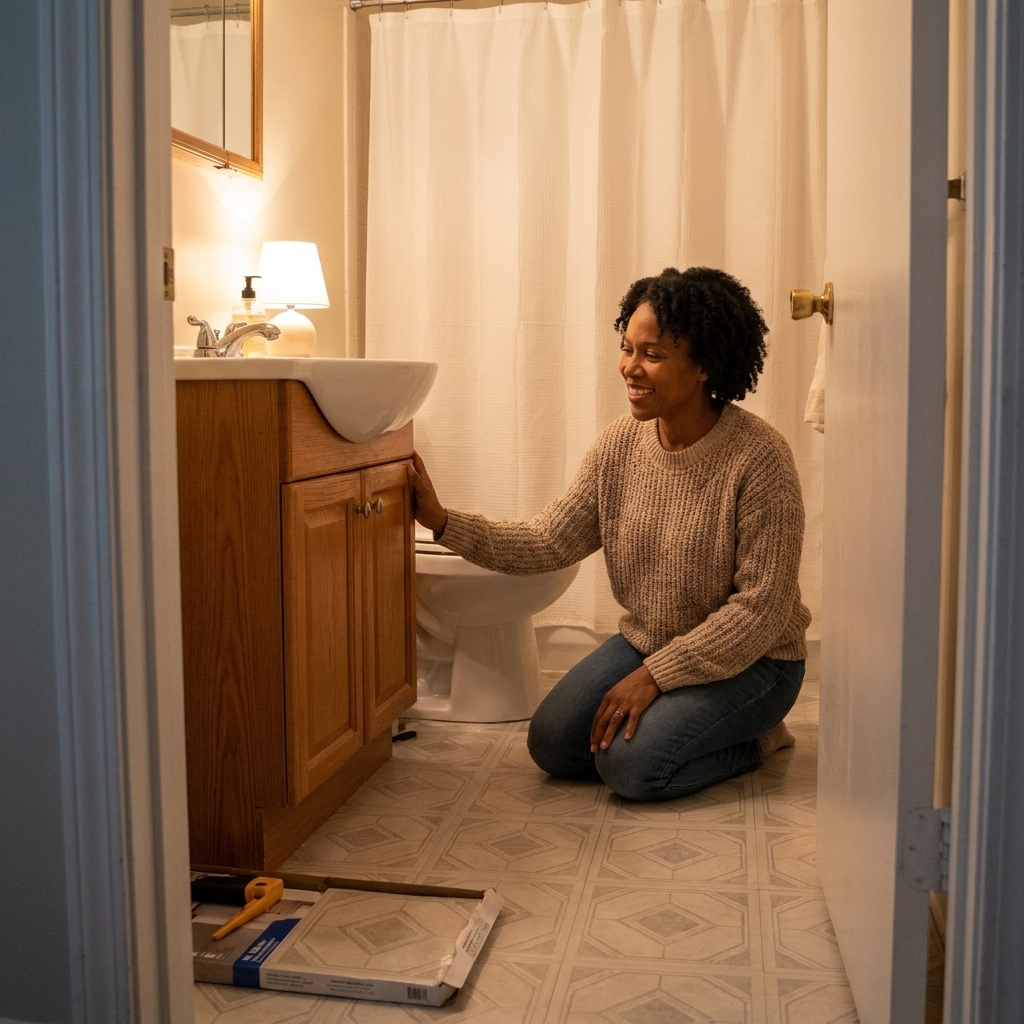
Before you start: a 10-minute checklist
- Photograph everything as-is, including existing scuffs and caulk lines.
- Read your lease for rules about painting, drilling, and fixture changes.
- Save every original piece you remove (hardware, bulbs, showerhead). Put them in a labeled zip bag.
- Patch plan: if you must put holes in the wall, keep them minimal and commit to spackle before you leave.
- Moisture matters: bathrooms are humid. Choose products labeled water-resistant and test in a small area first.
Now for the fun part. Below are ten reversible upgrades that feel like a makeover, not a temporary fix.
Quick tool list (nice to have)
- Screwdriver
- Measuring tape and pencil
- Small level
- Utility knife + extra blades
- Metal ruler or straightedge
- Plumber’s tape
- Caulk remover tool + caulk smoothing tool (if you are re-caulking)
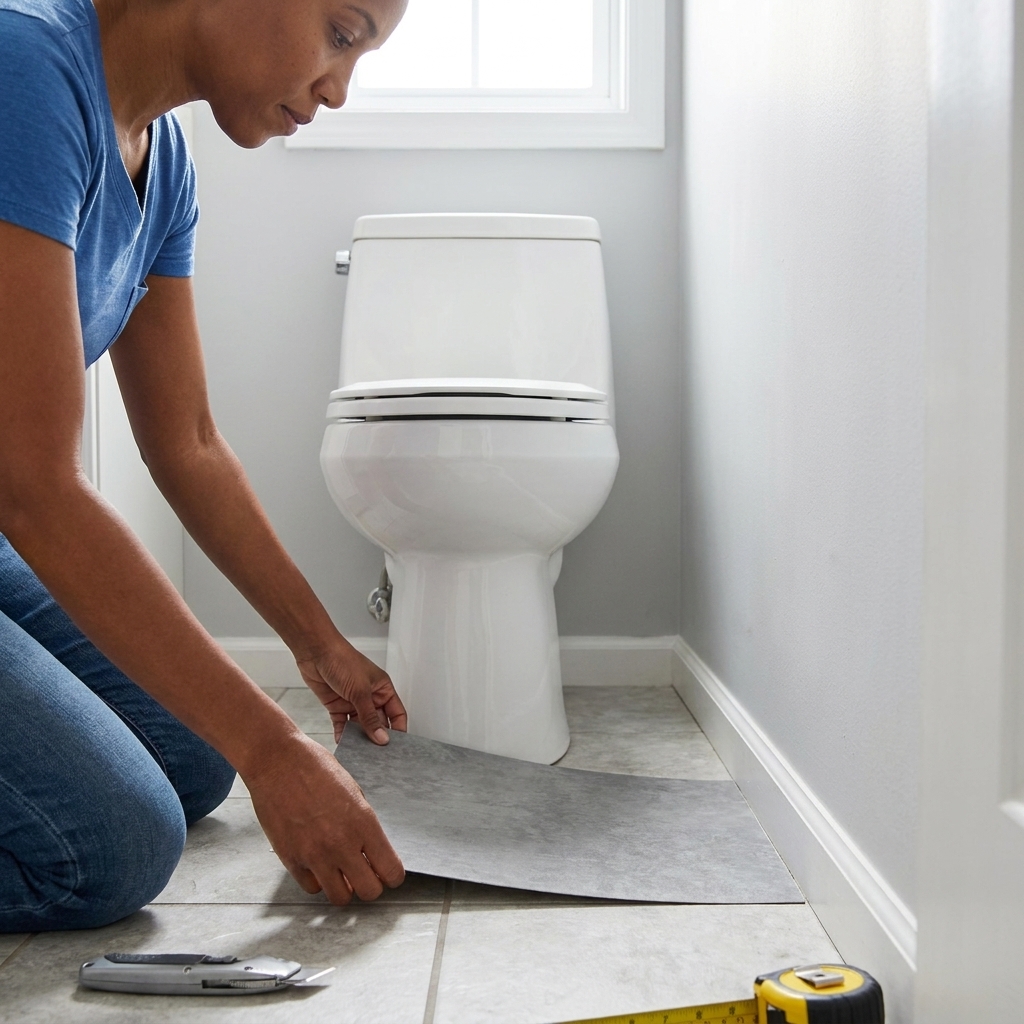
1) Peel-and-stick floor tiles (or a vinyl sheet)
If your floor is the thing you avoid looking at, start here. Peel-and-stick tiles are the highest impact upgrade you can do in a small bathroom, and you do not need a contractor to get a clean result.
Quick renter caution: adhesives can grip harder than you expect on older vinyl/linoleum, porous surfaces, or anything already peeling. If you are not sure what your existing floor is, test one tile in a hidden corner and give it a day or two before committing.
How to make it look real
- Deep clean first and let the floor dry fully. Any residue can cause lifting at the edges.
- Dry lay your pattern before you commit. Centering matters in small rooms.
- Use a utility knife and metal ruler for crisp cuts around the toilet base and edges.
- Roll it down with a small hand roller or even a wrapped rolling pin to help adhesion.
Budget: $30 to $100 depending on coverage and what you already have on hand. If you are tight on budget, tile only the visible area and tuck the rest under a bath mat.
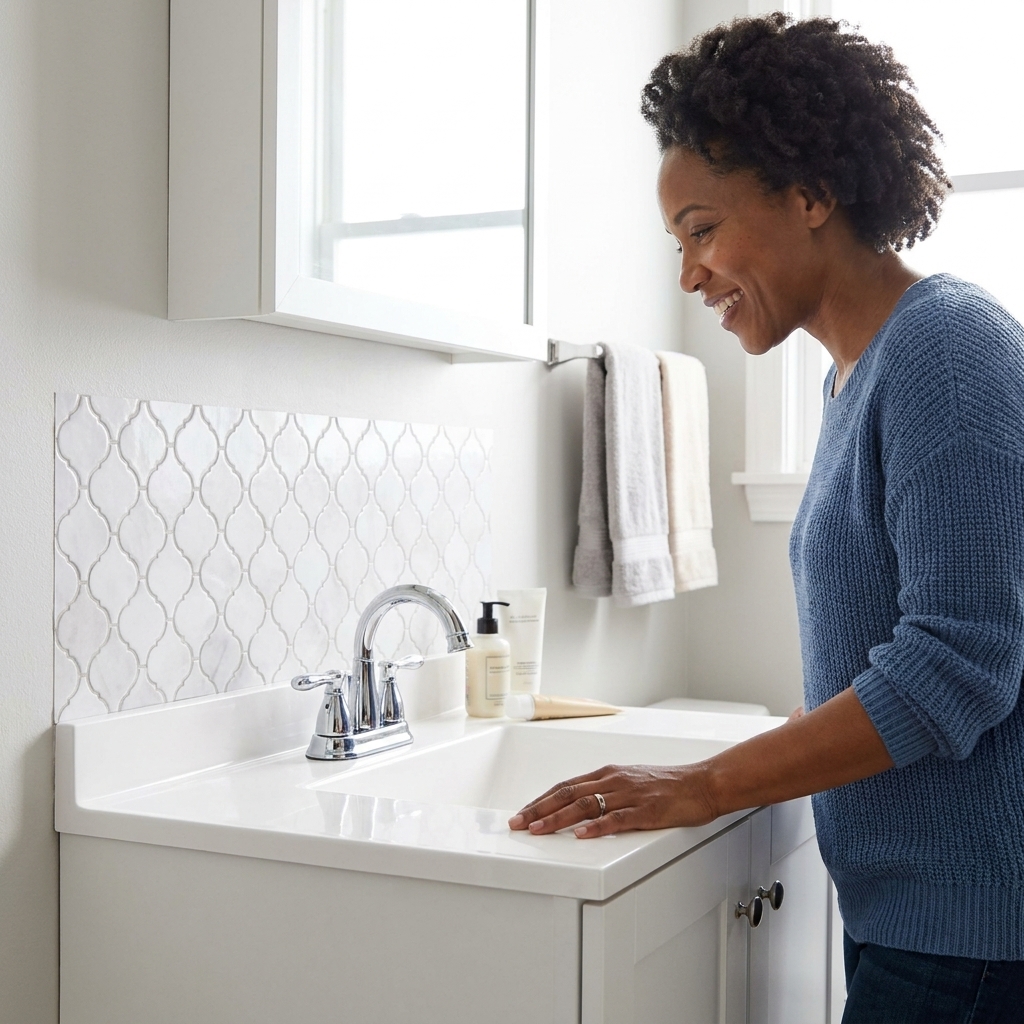
2) Peel-and-stick backsplash behind the sink
A tiny backsplash is basically a little piece of jewelry for your vanity. Removable tile stickers or peel-and-stick panels can cover dated laminate or tired paint splatter zones behind the faucet.
- Choose a finish that matches your faucet: warm metals love creamy “zellige” looks; chrome looks sharp with cool marble veining.
- Stop short of the outlet plate if you do not want to remove it. A clean rectangle is better than a jagged cut.
Budget: $15 to $60.
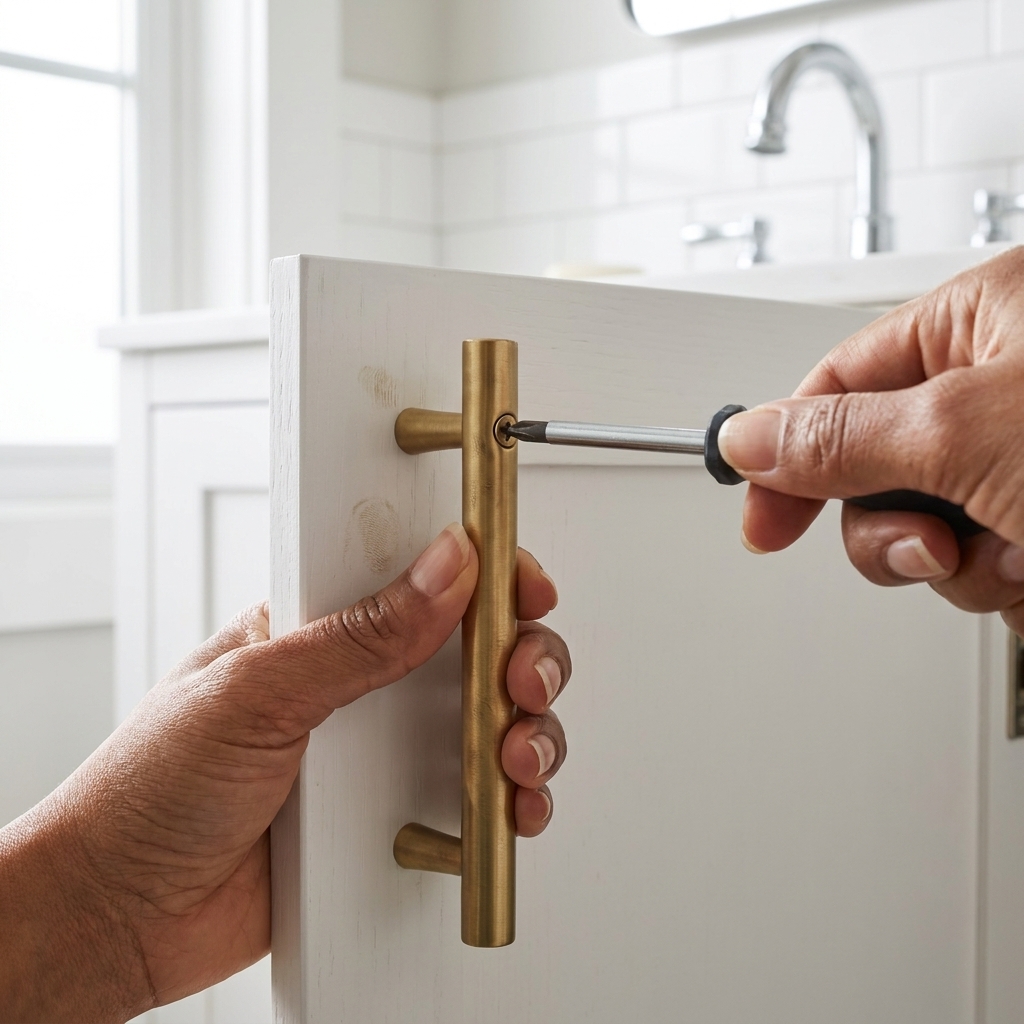
3) Hardware swap: knobs, pulls, and the toilet paper holder
This is the easiest “I swear this is a new bathroom” move. Builder-grade hardware is often the visual problem, not the cabinet itself.
Make it painless
- Match the existing hole spacing for pulls so you do not have to drill new holes.
- Go cohesive: pick one metal (matte black, brushed nickel, or warm brass) and repeat it.
- Label and store originals in a bag taped inside the vanity.
Budget: $10 to $50, especially if you buy a small set.
4) A better showerhead (keep the original)
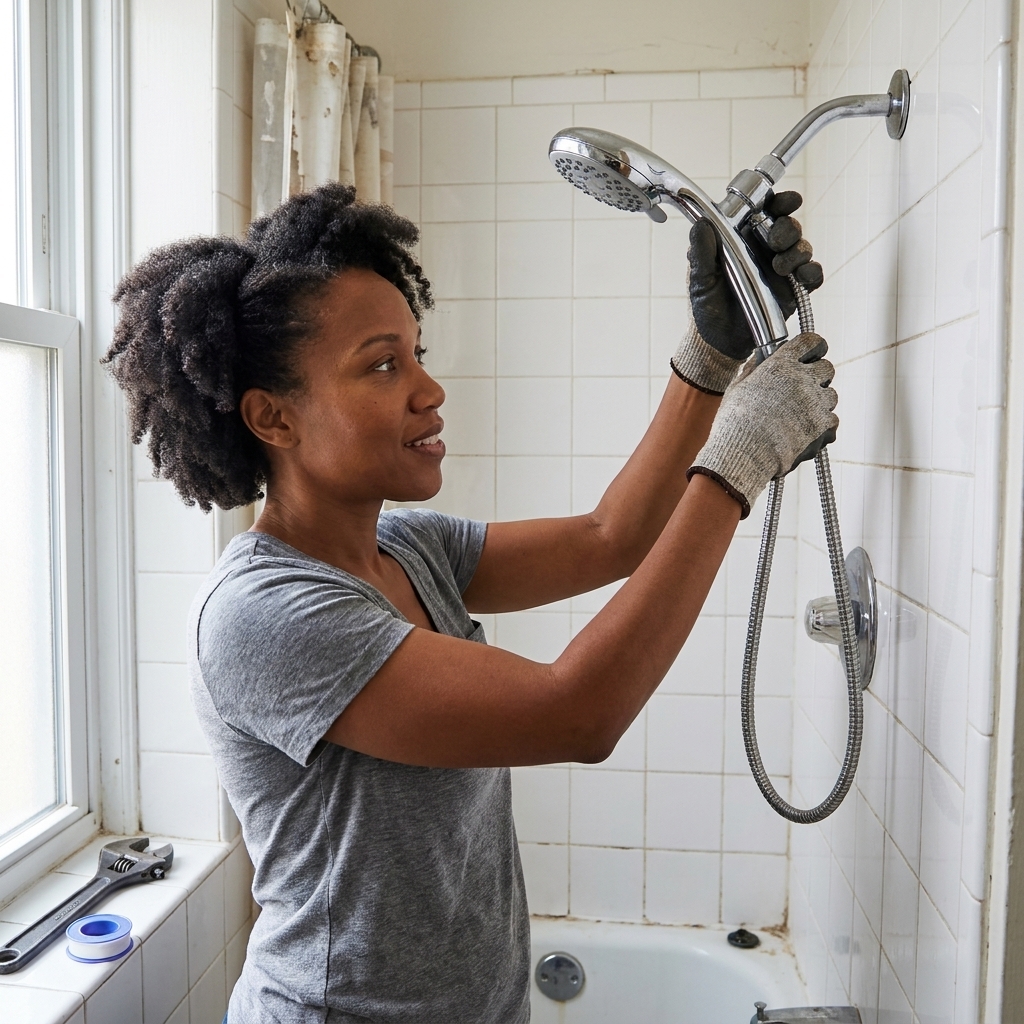
A rental showerhead can make even the prettiest bathroom feel like a motel. Swapping to a handheld showerhead or a model designed for a higher-pressure feel is a quality-of-life upgrade you will feel every single day. (True pressure is still limited by your plumbing and local flow regulations, but the experience can be noticeably better.)
- Use plumber’s tape on the threads to prevent leaks.
- Keep the original showerhead in a labeled bag so you can reinstall it later.
- Check your finish so it plays nicely with your faucet metal.
Budget: $25 to $60.
5) Upgrade the shower curtain
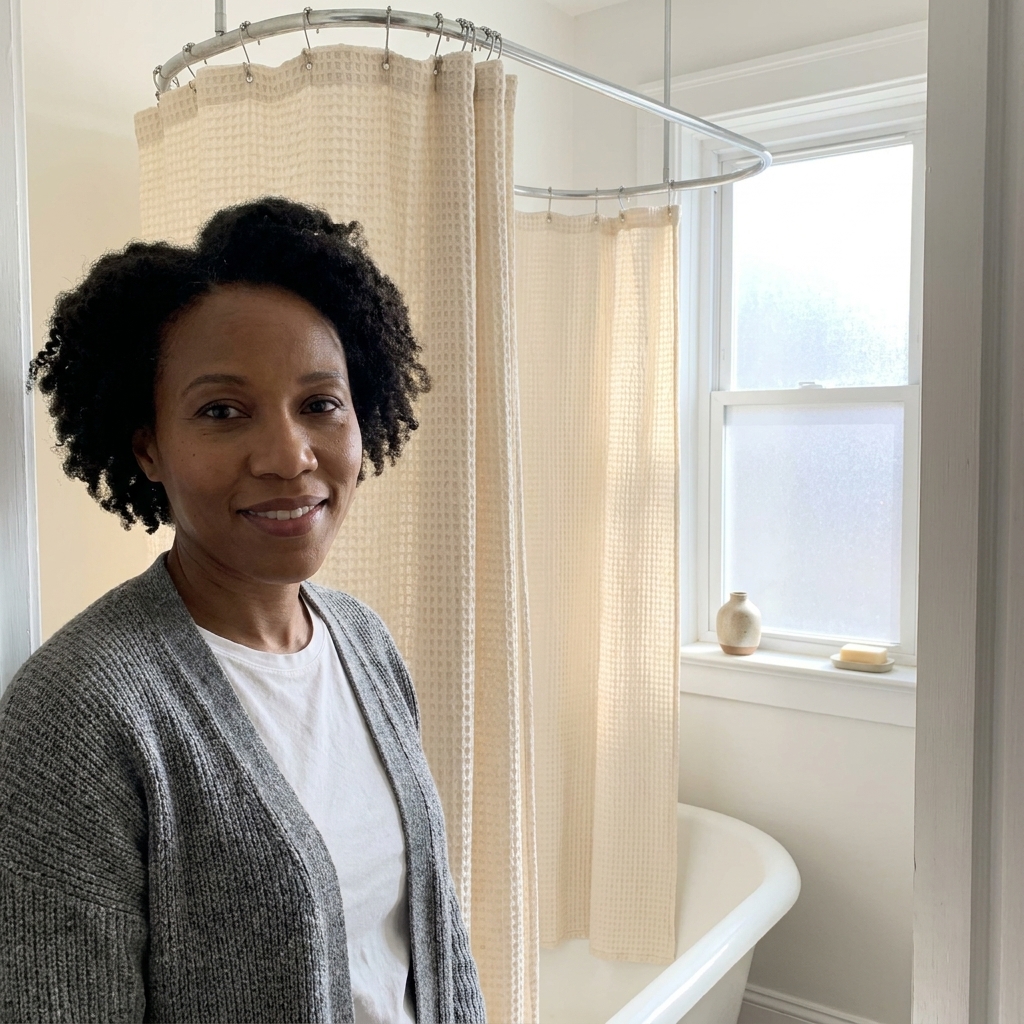
A shower curtain is a huge vertical surface. Treat it like the room’s statement piece. I love a fabric curtain with a subtle texture: waffle, cotton canvas, linen-look polyester, or a soft stripe.
Styling tip
- Hang it higher (within reason) to make the room feel taller. Keep the bottom inside the tub, and make sure the liner can still sit comfortably inside without pulling.
- Add a liner you do not hate: a clear, weighted liner looks cleaner than an opaque one that clings.
- Choose rings that match your hardware for that “designed” finish.
Budget: $20 to $60.
6) Lighting upgrades: bulbs and plug-ins
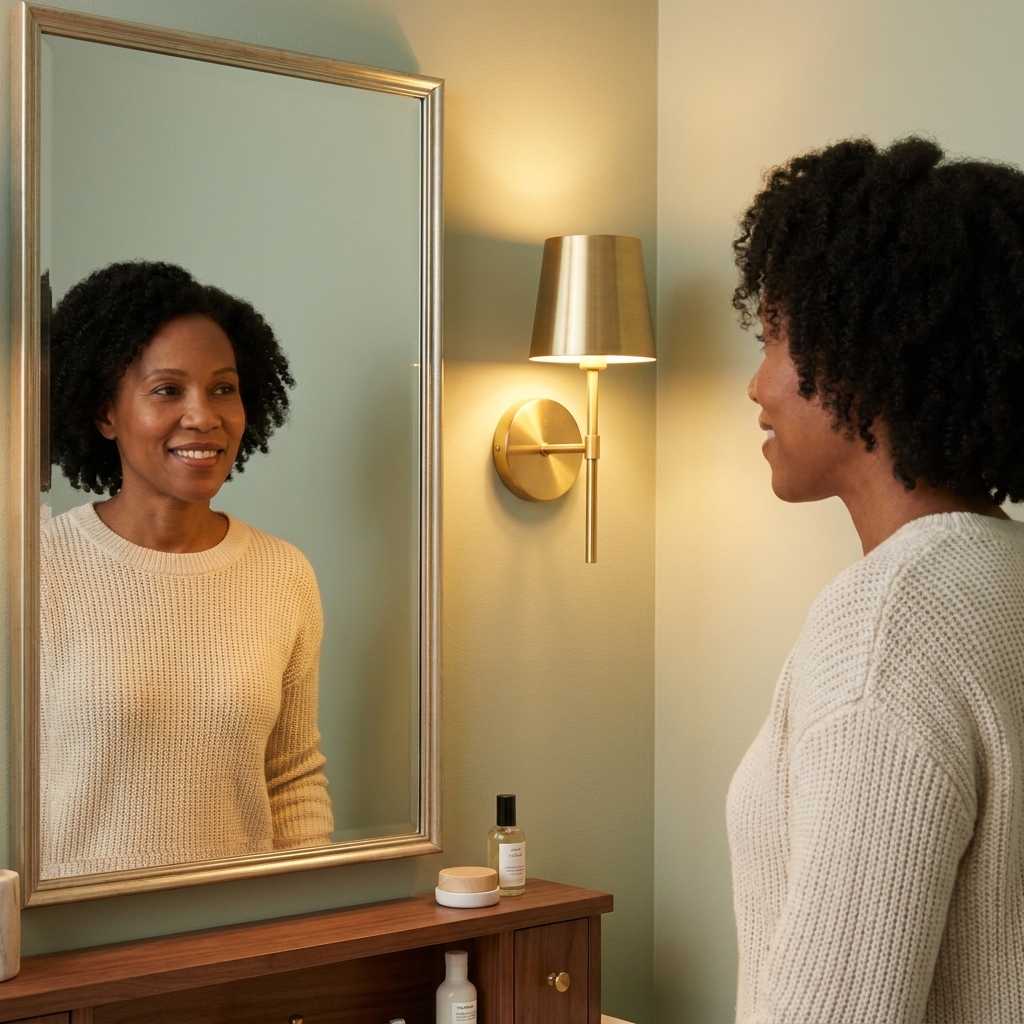
Lighting is mood, and mood is everything in a bathroom. If you cannot swap the fixture, you can still make the light feel warmer and more flattering.
- Change the bulb temperature: aim for warm white (2700K to 3000K). 2700K is cozier; 3000K is a little cleaner and brighter.
- Try a rechargeable wall sconce (adhesive-mounted) beside the mirror if your vanity light is harsh.
- If you use a plug-in light, be serious about safety: only plug into a GFCI outlet, keep cords tidy and out of the splash zone, and never place anything where it could fall into a sink, tub, or toilet.
Budget: $8 to $40.
7) Removable hooks and towel storage
Most rental bathrooms are short on usable storage. Adding a few intentional landing spots reduces clutter instantly, which makes everything feel cleaner.
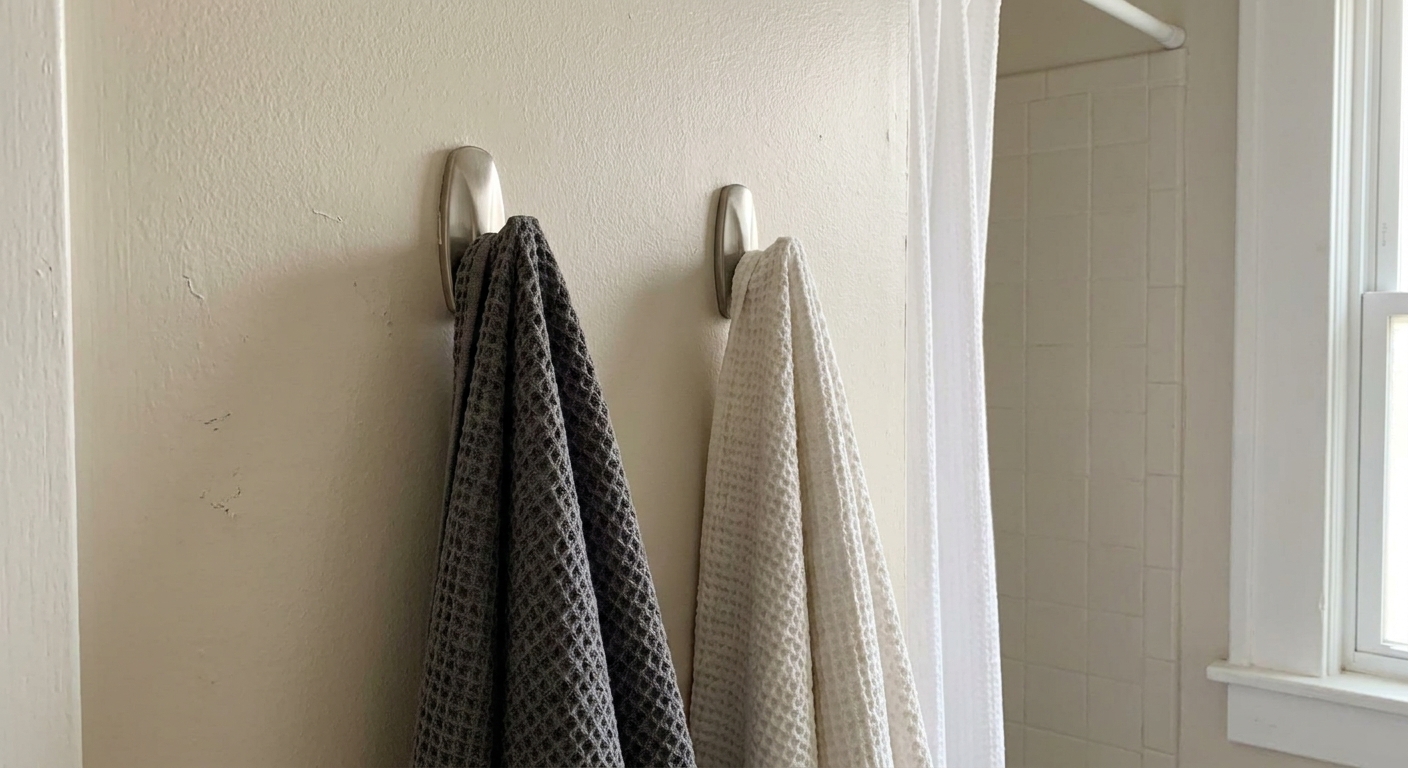
- Removable hooks for towels and robes, placed where you naturally reach when you step out of the shower.
- Over-the-door towel bars if your walls are delicate or you are avoiding drilling.
- A slim rolling cart beside the vanity for daily skincare and extra toilet paper.
Budget: $10 to $35.
8) Re-caulk and refresh the lines
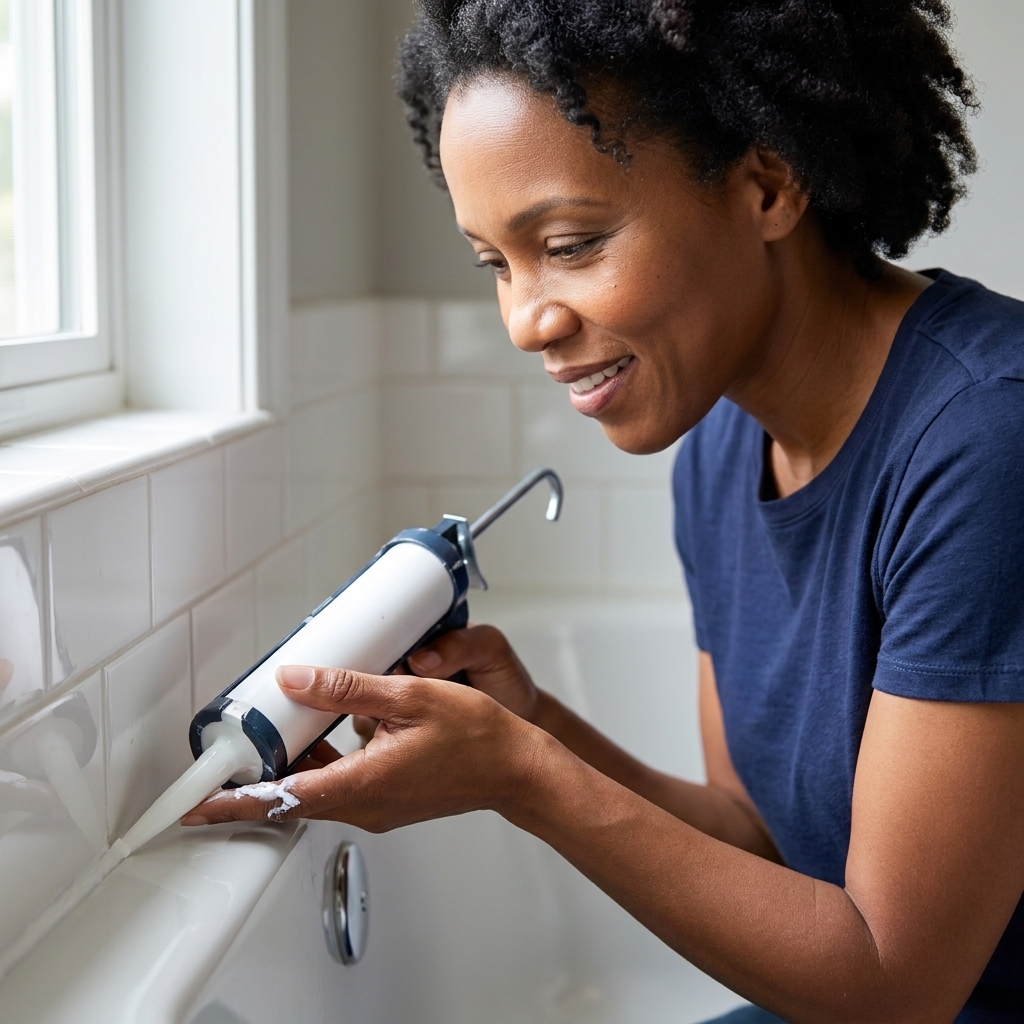
This one is not glamorous, but it is transformational. Dingy caulk and gaps around the tub instantly make a bathroom feel older than it is. If your lease allows basic maintenance, fresh caulk is a weekend upgrade that reads like a renovation.
Renter note: In many buildings, caulking is considered landlord maintenance. If you see cracking, gaps, or signs of water intrusion, it is smart to notify your landlord first so you are not on the hook for a bigger moisture issue later.
Do it cleanly
- Remove failing caulk completely before adding new. Layering rarely looks good.
- Use a mildew-resistant bathroom caulk.
- Smooth with a tool or a gloved finger and wipe frequently for crisp lines.
Budget: $8 to $15.
9) A renter-friendly mirror update
If your mirror is glued on and not going anywhere, you can still create a more elevated look.
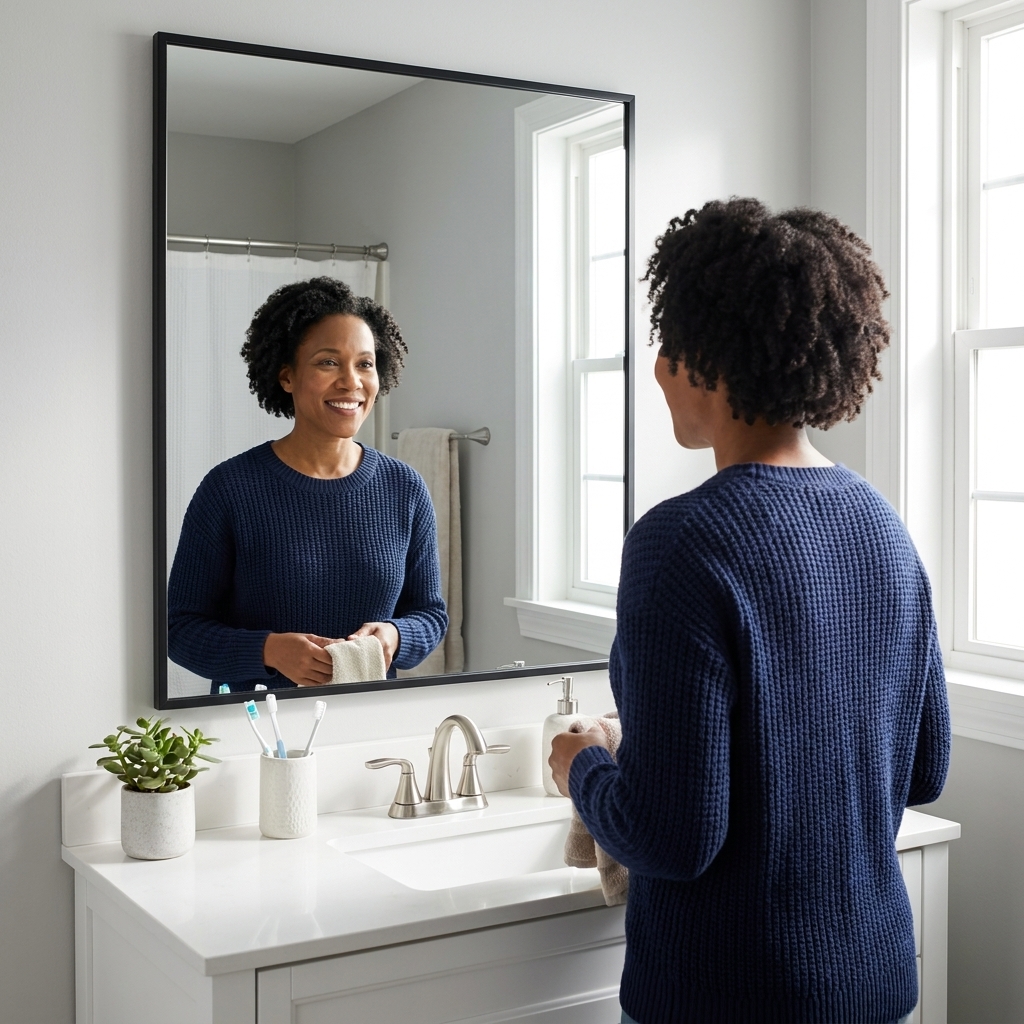
- Add a clip-on or stick-on frame designed for builder mirrors.
- Or go minimalist with a thin black removable frame strip for a clean outline.
- Style the area around it: a small art print on a ledge, a candle, a sculptural soap dispenser. These tiny cues make the mirror feel intentional.
Budget: $15 to $90 depending on framing method.
10) Soft goods and styling
The fastest way to make a rental bathroom feel personal is through texture. Think of it as layering, but with items you will happily pack up and bring to your next place.
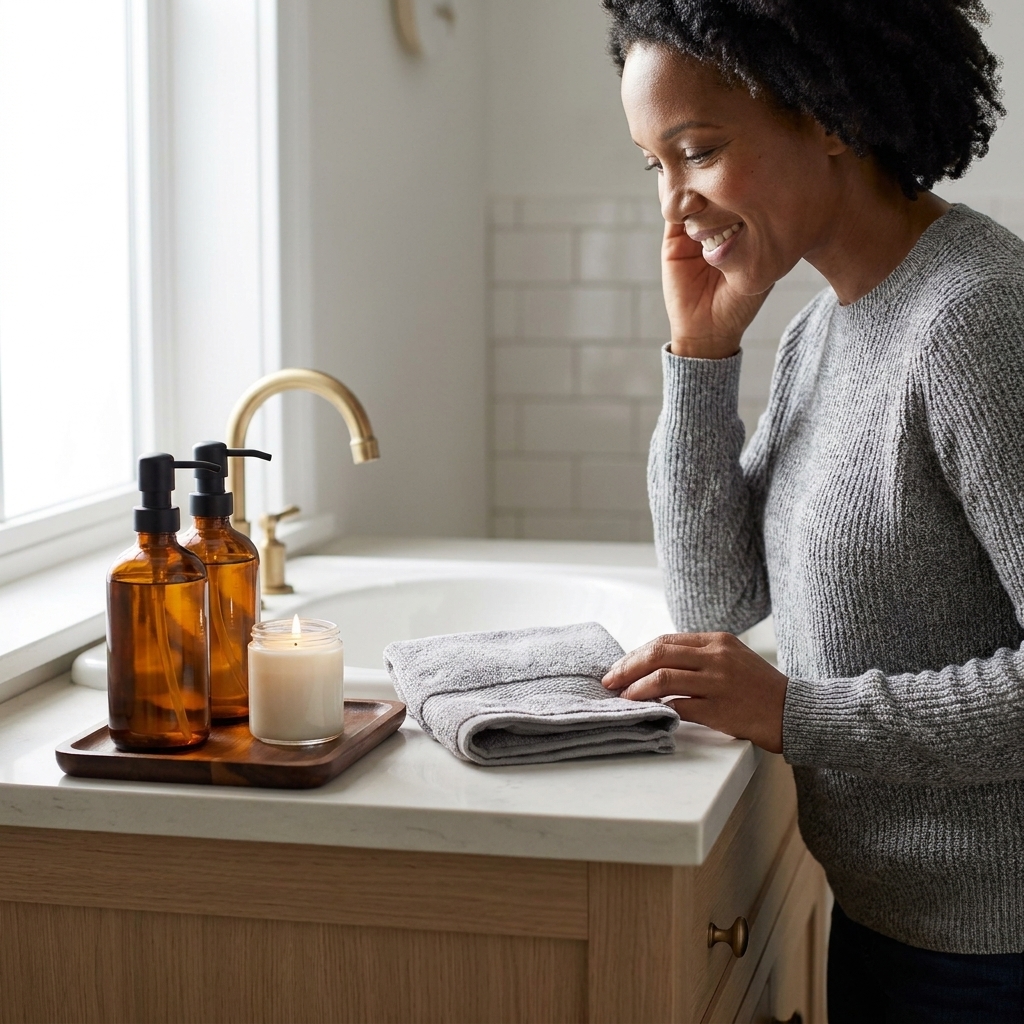
- Bath mat upgrade: go thicker, more hotel-like, or try a low-profile woven cotton rug if your bathroom stays dry.
- Coordinated bottles: refill shampoo, hand soap, and lotion into matching pump bottles so the counter feels calm.
- A small tray for daily essentials to create one neat “zone.”
- One living thing: a pothos, snake plant, or a small vase of eucalyptus (real or faux) for that fresh, cared-for energy.
Budget: $20 to $100 depending on what you already own.
My favorite under-$100 combos
If you want the biggest “before and after” feeling without overthinking it, try one of these simple formulas. Prices vary by bathroom size and what you already have, but these combos are often doable under $100.
- Floor-first glow-up: peel-and-stick floor tile + warm light bulb + new bath mat.
- Vanity refresh: hardware swap + peel-and-stick backsplash + matching soap dispensers.
- Shower spa moment: upgraded showerhead + textured shower curtain + removable hooks for towels.
Do not do this (unless you have written permission)
- Paint, reglaze, or refinish tile and tubs.
- Drill into tile or stone (one cracked tile can become your problem).
- Use strong adhesives on porous surfaces (raw wood, unsealed grout, textured plaster).
- Take on plumbing or electrical work beyond simple, reversible swaps.
FAQ: Renter bathroom upgrades
Will peel-and-stick tile ruin my rental floor?
It depends on the existing surface and how long it stays down. Many renters have success on smooth, sealed surfaces, but some adhesives can be stubborn or pull up a failing top layer. Test one tile in a hidden corner first, and follow the manufacturer’s removal guidance. If your floor is already damaged, porous, or peeling, choose a removable vinyl floor mat or a loose-lay sheet instead.
What is the most reversible upgrade with the biggest impact?
A shower curtain upgrade plus better lighting is the quickest visual shift. If you want a true transformation, peel-and-stick flooring usually changes the whole room’s vibe immediately.
Can I swap the faucet in a rental?
Sometimes, but I only recommend it if your lease explicitly allows it and you are comfortable shutting off water and checking for leaks. For most renters, hardware, mirror framing, and backsplash are safer wins.
How do I make a small bathroom feel bigger without renovations?
Keep the shower curtain light in color, hang it a touch higher, choose one cohesive metal finish, and corral countertop items into a tray. Visual calm reads as “more space,” even when the square footage is fixed.
Slow decorating note
If you are on a tight budget, do this in layers. Start with one friction point, like a showerhead that drives you nuts or towels that never have a home. When your bathroom functions better, it automatically feels more beautiful. That is the kind of makeover that lasts longer than a trend and travels with you when you move.